BACK
BACK

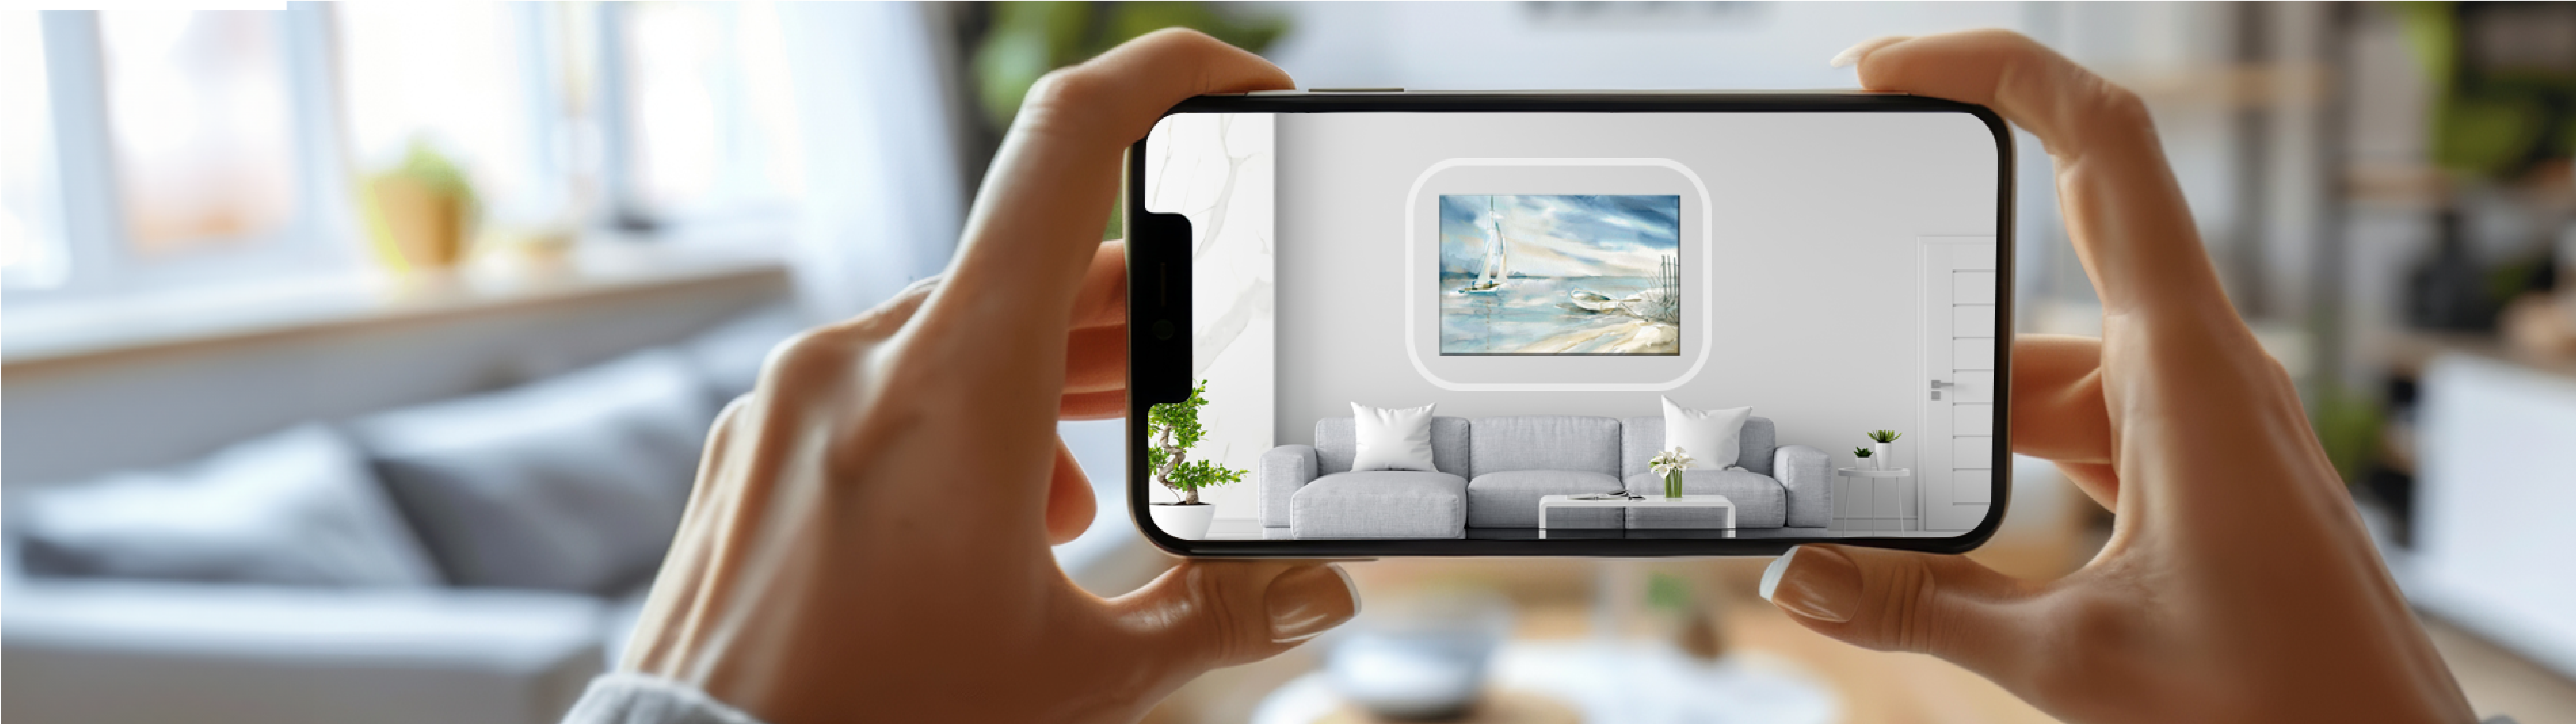
Yay! Your artwork has arrived. You’re undoubtedly excited to get it up on the wall, and we don’t blame you! However, there’s a few tips and tricks you should follow to make the most out of your new print.
Our artwork is ready-to-hang and comes with a pre-installed sawtooth hanger. That's because we want to make sure that decorating your wall is super fast and easy!
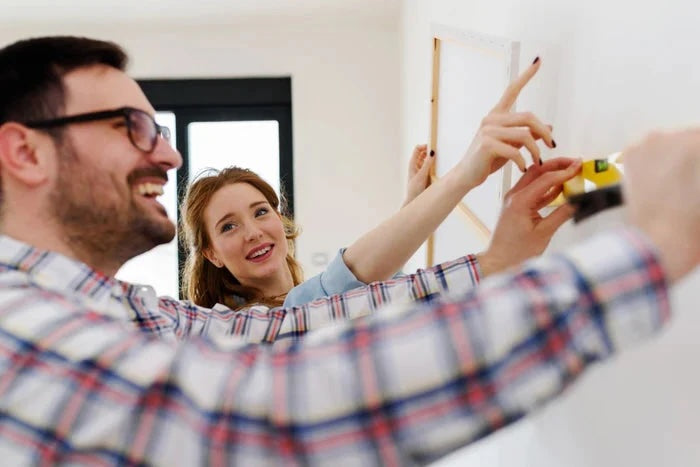
We’ve created a super easy, step-by-step guide to help you hang your new multi-panel canvas wall art. Roll up your sleeves and let’s get started! Hanging multi-panel wall art is fairly easy task, and should not take more than 10 minutes.
Step 1:
Creating a Plan - How to Hang Canvas Panels
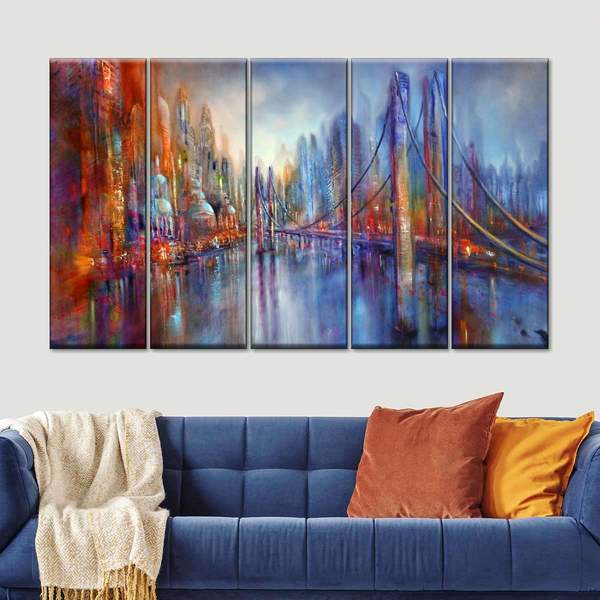
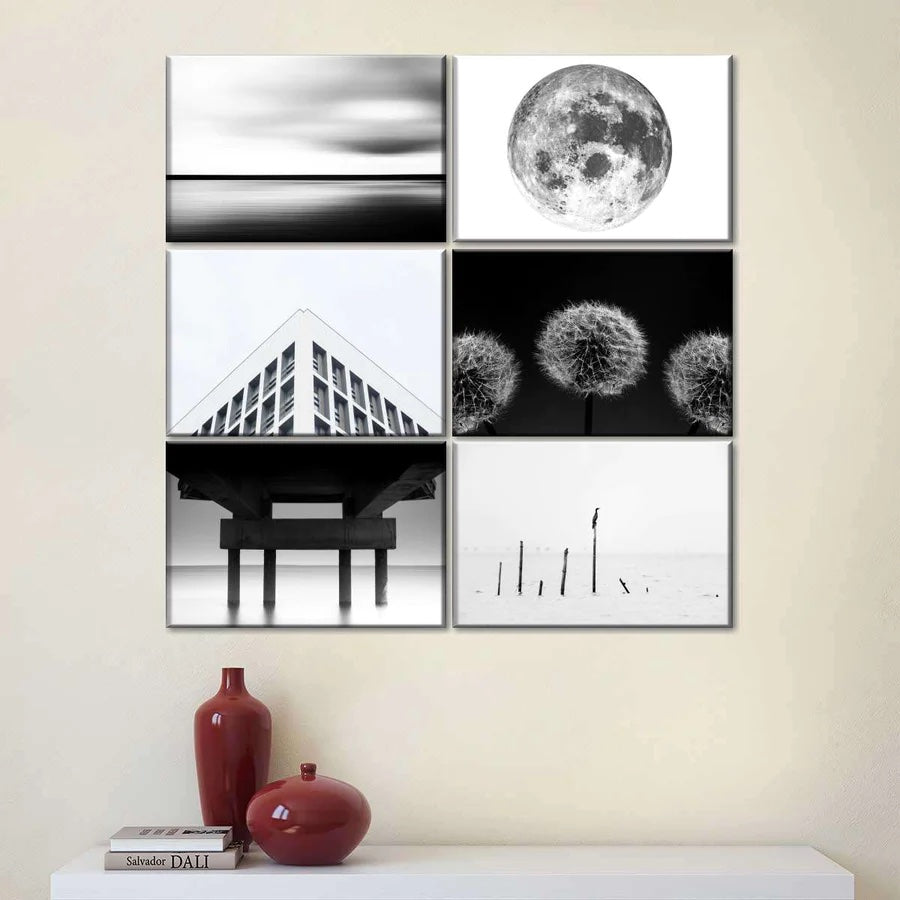
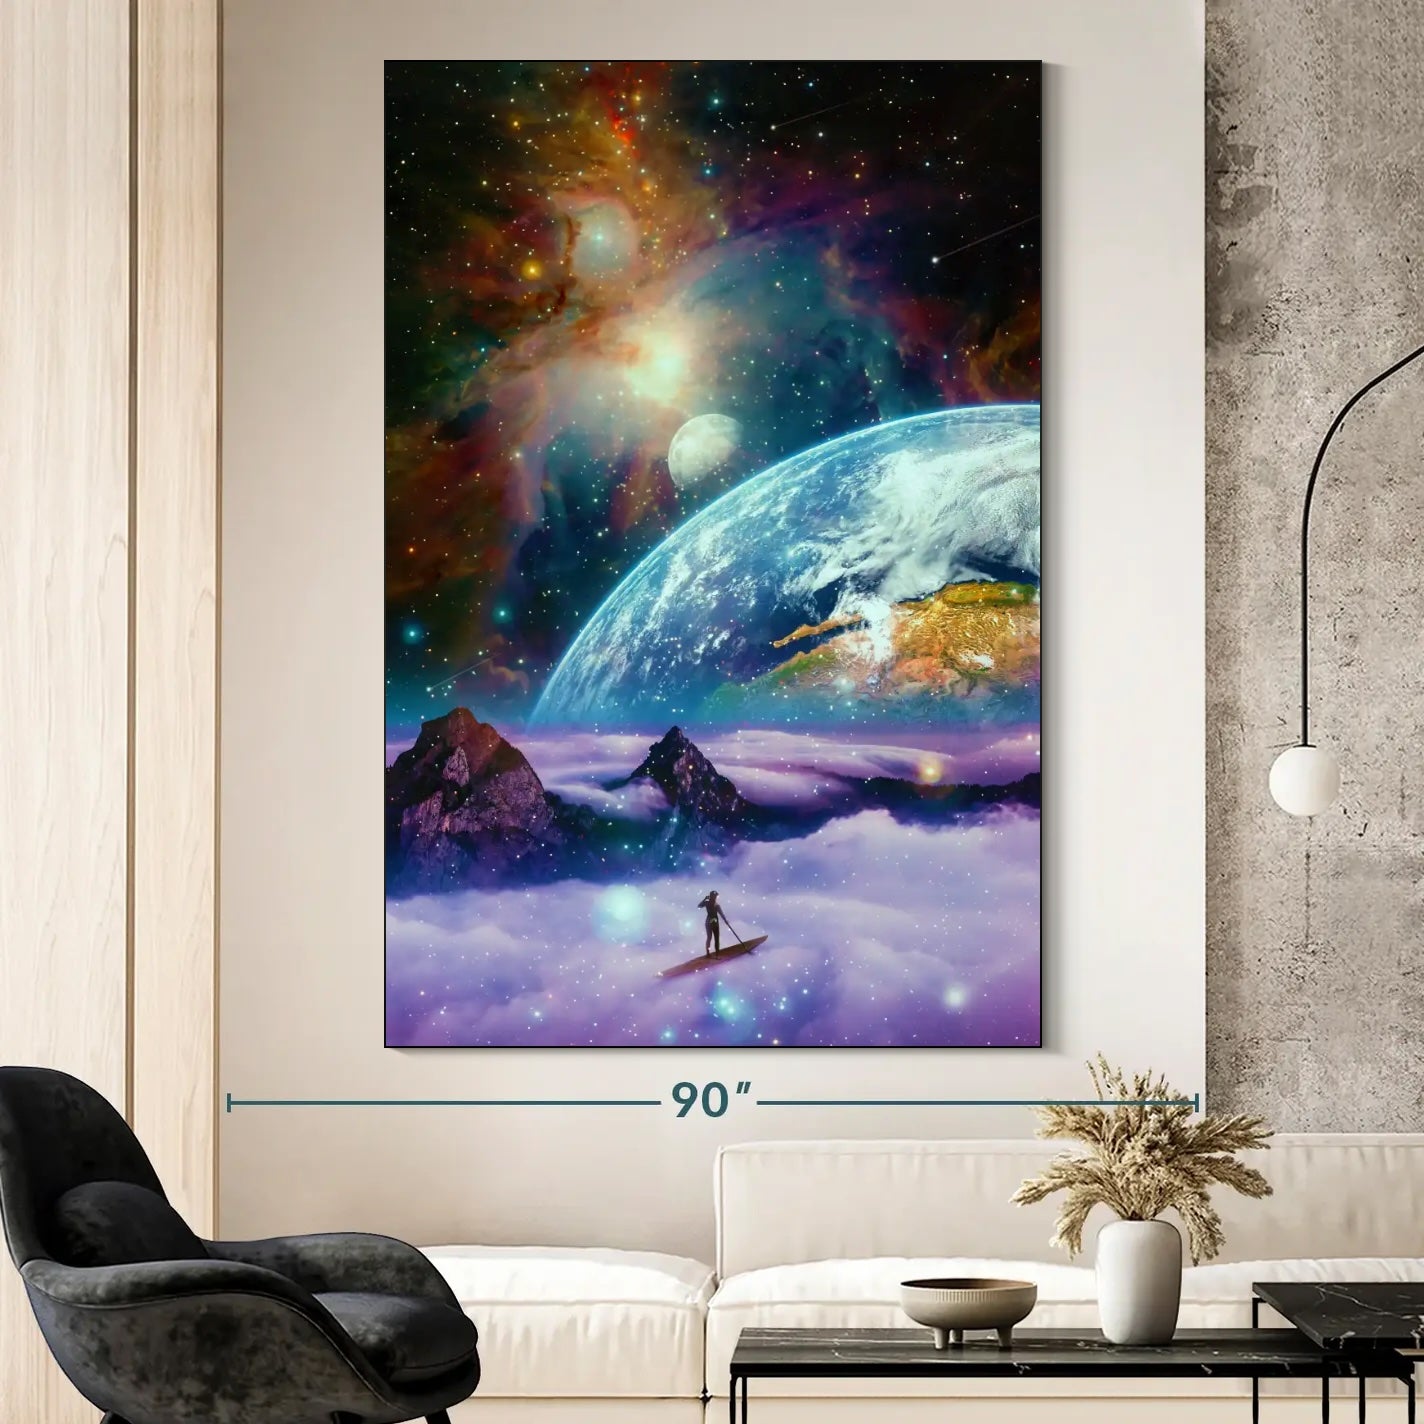
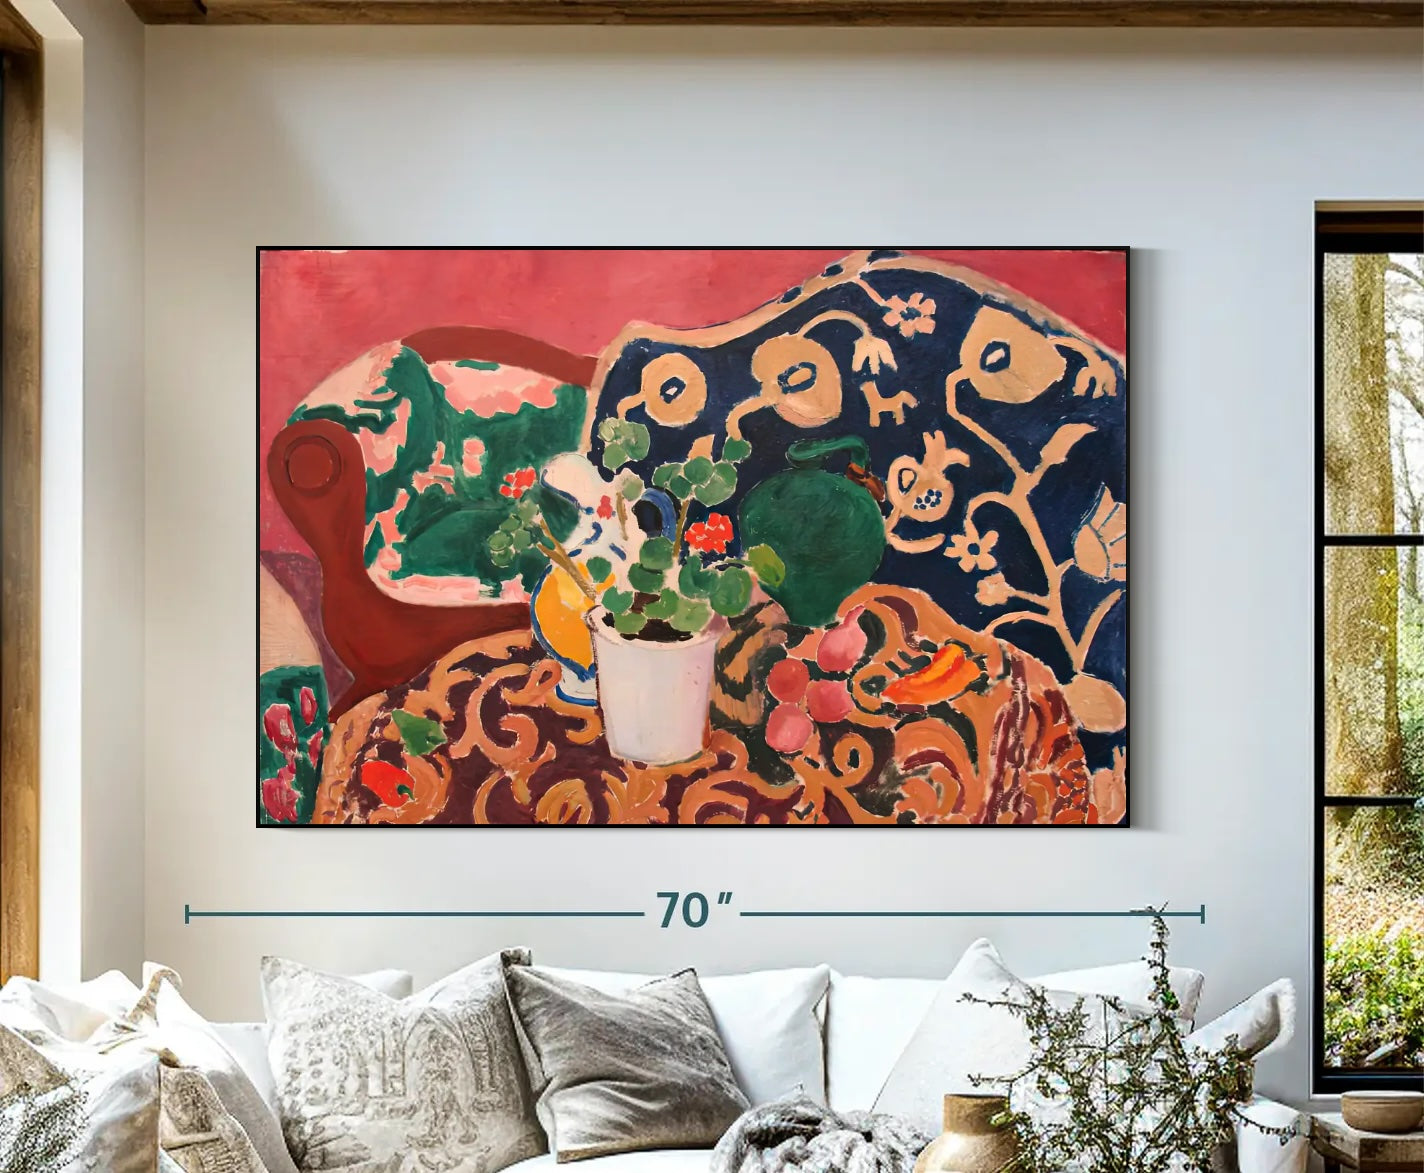
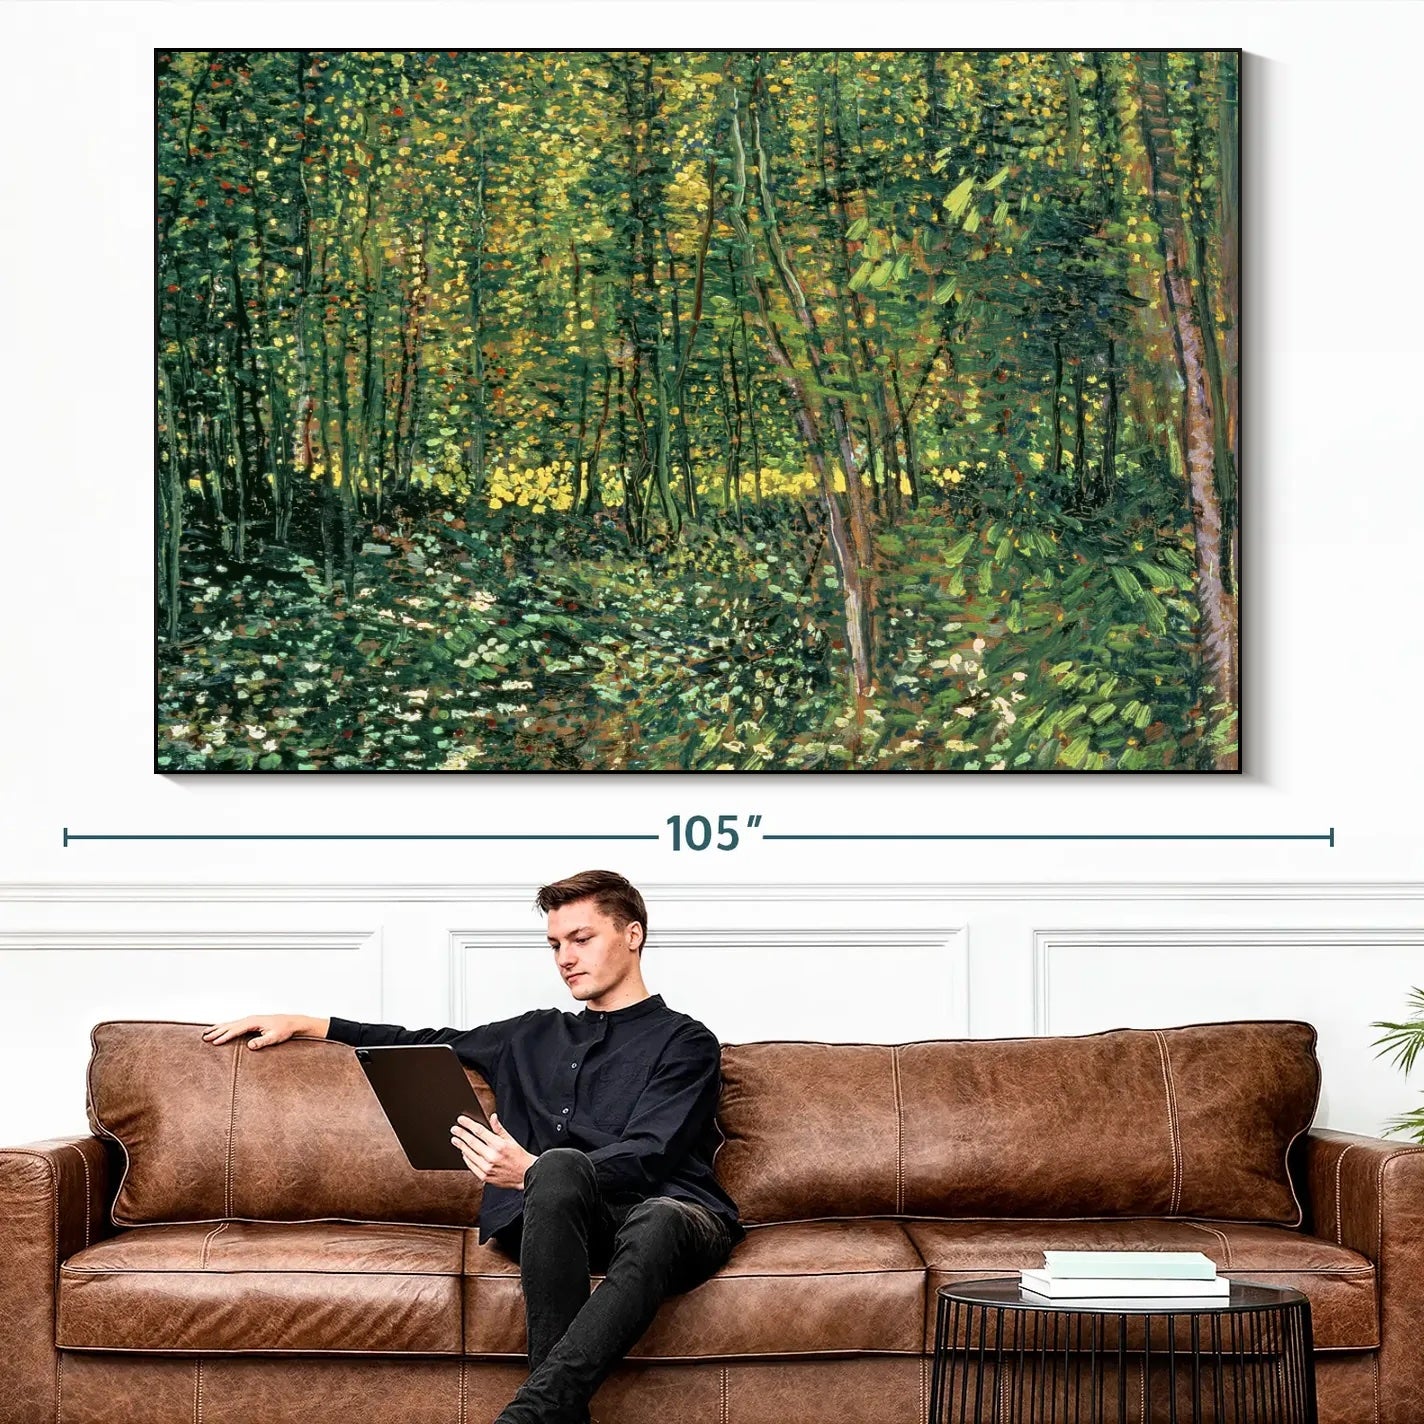
We’ll break down the nitty-gritty of the technicalities later on. The first step is to visualize the placement of your piece. Don’t make the common mistakes amateur designers typically fall into. For example, plan the best area to hang your print. You want your artwork to take up approximately 60-70% of the available empty wall space for a balanced look. Make sure to always hang your panels flush with the wall. Any gap between the canvas and the wall will instantly cheapen your interior. Choose an area of your room that is visually lacking, rather than a space that already looks crowded with furniture and decor.
Expert Advice: The Best Way to Hang Canvas Art
To get the complete rundown on how to hang a canvas painting the right way, check out our article full of expert advice. Here’s a sneak preview of the first tip:
“Any designer will tell you that the most common mistake homeowners make, is hanging their art too high. Large wall art should be hung at eye level. While it may seem low at first glance, eye-level artwork is a longstanding gallery standard. Guests should not have to crane their necks to look at your prized prints. Your artwork should be in plain view, and blend seamlessly with the rest of your interior. If you’re hanging a piece of art above a sofa, leave no more than 6”-8” in between the top of the couch and the bottom of the print.”
Now that you have an idea of proper placement, let’s get into the physical process of hanging canvas panels!
Shop our multi-panel wall art sets >>

Step 2:
Required Tools
* Nails/screws (one for each panel)
* Pencil
* Hammer/drill
* Spirit level ruler
* Toothpaste
Toothpaste?! Yup, you read that right! You'll figure out why you need it soon enough!
View our multi-panel wall decor options >>

Step 3:
Align the Panels
Always start with the middle panel (usually the largest one). Use it as a main focal point to align the other panels.
Explore top multi-panel wall art and decor >>

Step 4:
Spread Toothpaste
Spread a small dot of toothpaste on the embossed circle of the sawtooth hanger.

Step 5:
Mark the Wall
Press the frame to the wall. The toothpaste will then stick to the wall.
Browse multi-panel wall decor and artwork >>

Step 6:
Drive the Nail
Place the nail where the toothpaste is, and hammer it into the wall.

Step 7:
Leave Enough Space Between the Panels
By this point, you're probably wondering how far apart you should hang the panels of your canvas!
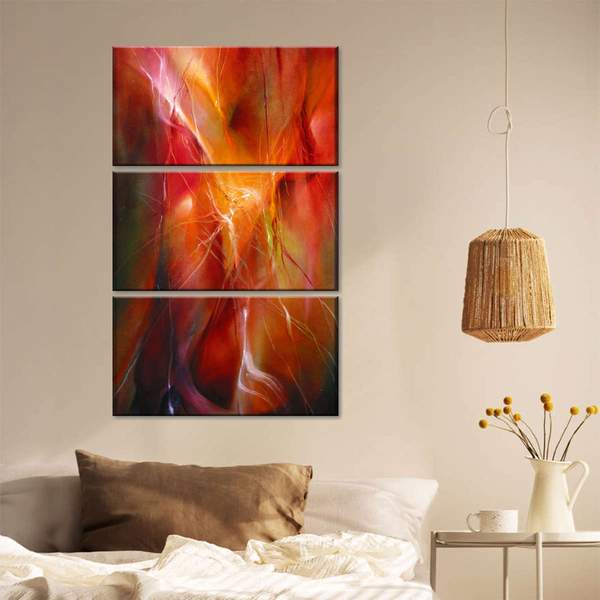
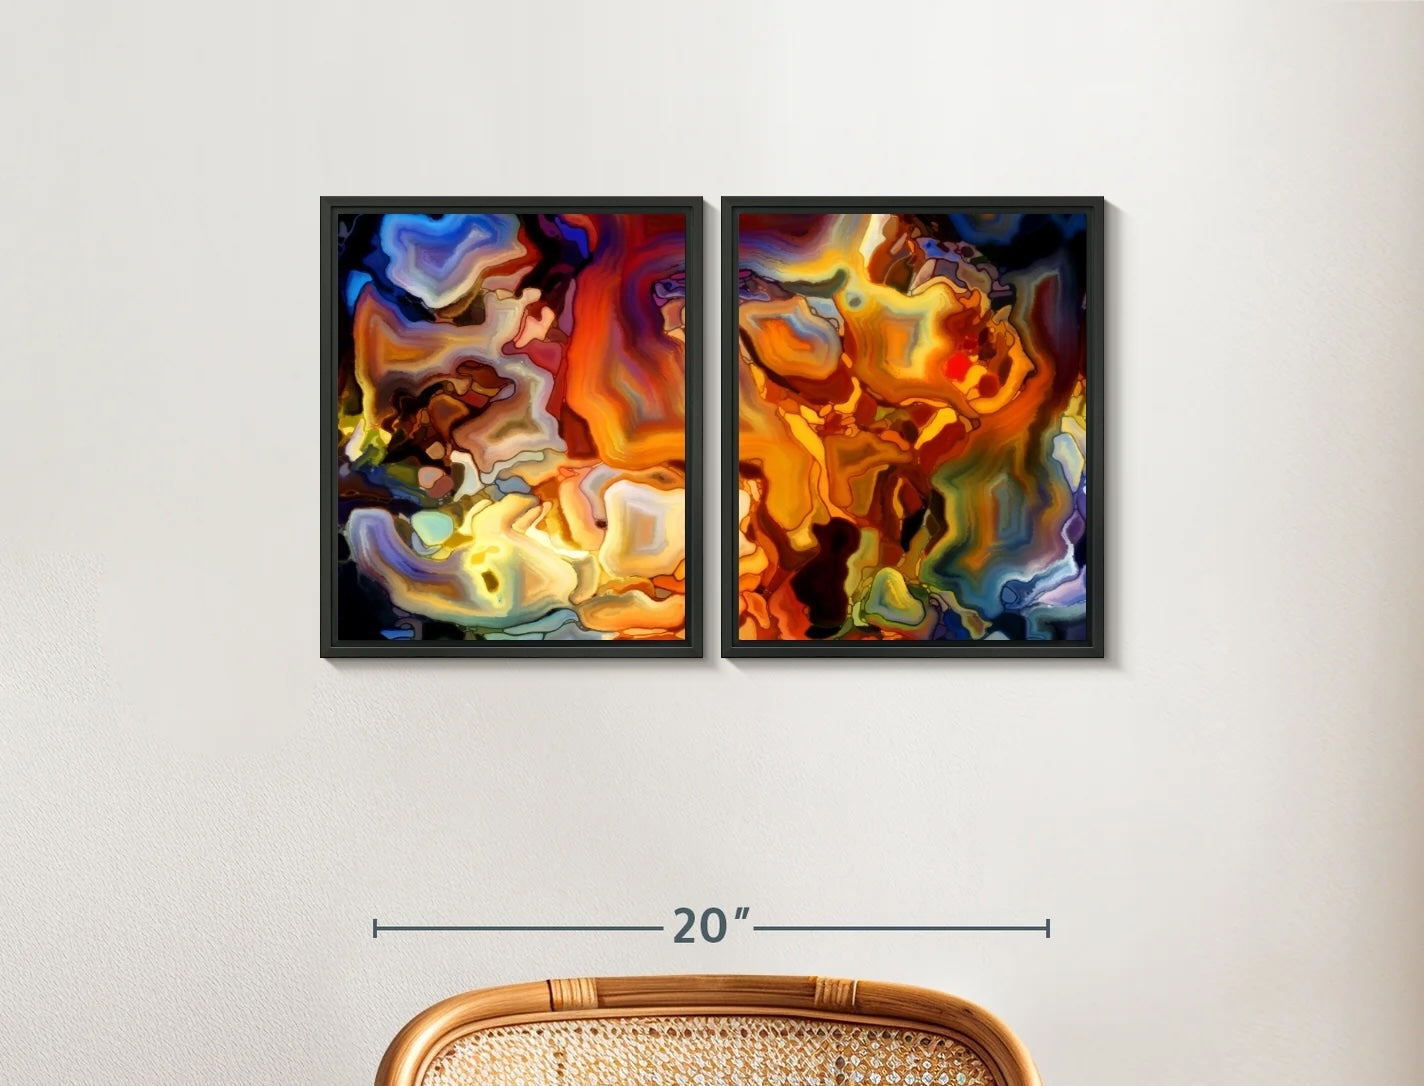
* Width: For all layouts, we recommend leaving 2" space between each panel when hung, for the best airy but tied-together look! If the gap is too big or too small, you will lose the effect of the split canvas.
* Height: The height of the rest of the panels depends on the layout you selected. Some layouts are symmetrical, and some layouts resemble a wave and feature different heights. In general, be consistent! For example, if you hang the left panel 3" lower than the middle panel, be sure to hang the right panel using the same measurements. Always use your ruler and pencil to measure the right height!
Get multi-panel wall decorating ideas >>

Step 8:
Repeat!
Repeat the steps above for the rest of the panels, using an alternating sequence (middle, left, right, left, right). Use your level to ensure your panels are aligned.
Don't forget: Keep the distance between all panels the same, to achieve a cohesive look.
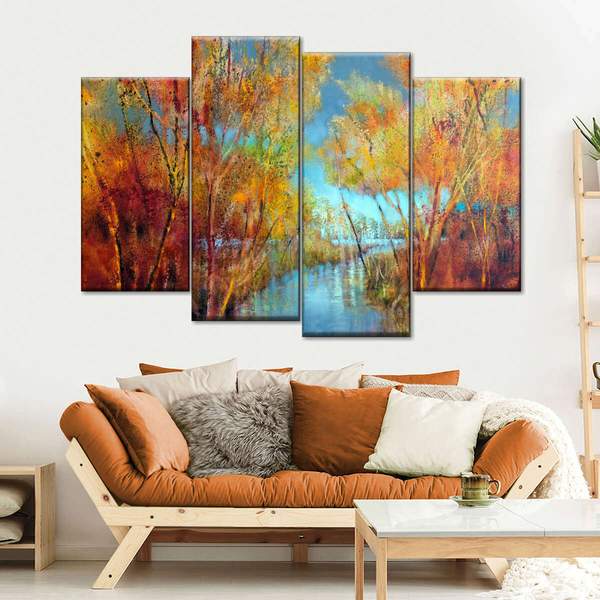
The End Result
Multi-panel wall art creates a dramatic effect and instantly adds character to your walls. You will notice how the artwork immediately changes the look of your space!
The end result should look cohesive, creative and balanced. Wall art is the best way to make the most of a blank wall!
Discover inspiring multi-panel art ideas >>

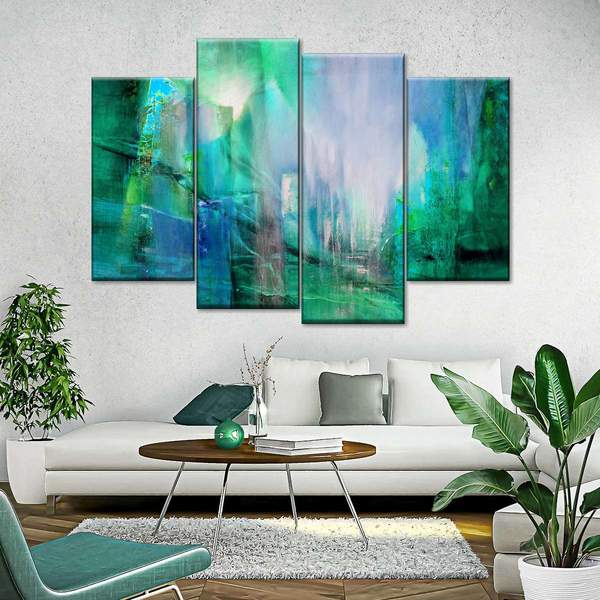
Achieving Symmetry
Symmetrical decor is hot for 2026! Ensuring a symmetrical design when hanging four or six-panel canvas art requires careful planning and attention to detail. The first step is to determine the center of the wall where you want to hang the art. Measure the wall and divide the length by the number of panels to determine the spacing between each panel. For a four-panel display, you can create a symmetrical layout by arranging the panels in a square shape or all in a line, with equal spacing between each panel. For a six-panel display, you can arrange the panels in two rows of three, or three rows of two, with equal spacing between each panel in each row. It's important to use a level to ensure that each panel is hanging straight and at the same height, and to step back periodically to check the overall balance of the display. With careful planning and attention to detail, you can create a stunning symmetrical design that will add a touch of elegance and sophistication to any room.
Discover the best multi-panel art pieces >>
 We hope you enjoy your new wall art! Post photos of your space on Instagram and use the hashtag #elephantstock
Pro tip: Read how to care for your artwork, to ensure it lasts longer!

RECENT ARTICLES
CATEGORIES

 GET OUR TIPS!
STRAIGHT TO YOUR INBOX