BACK
BACK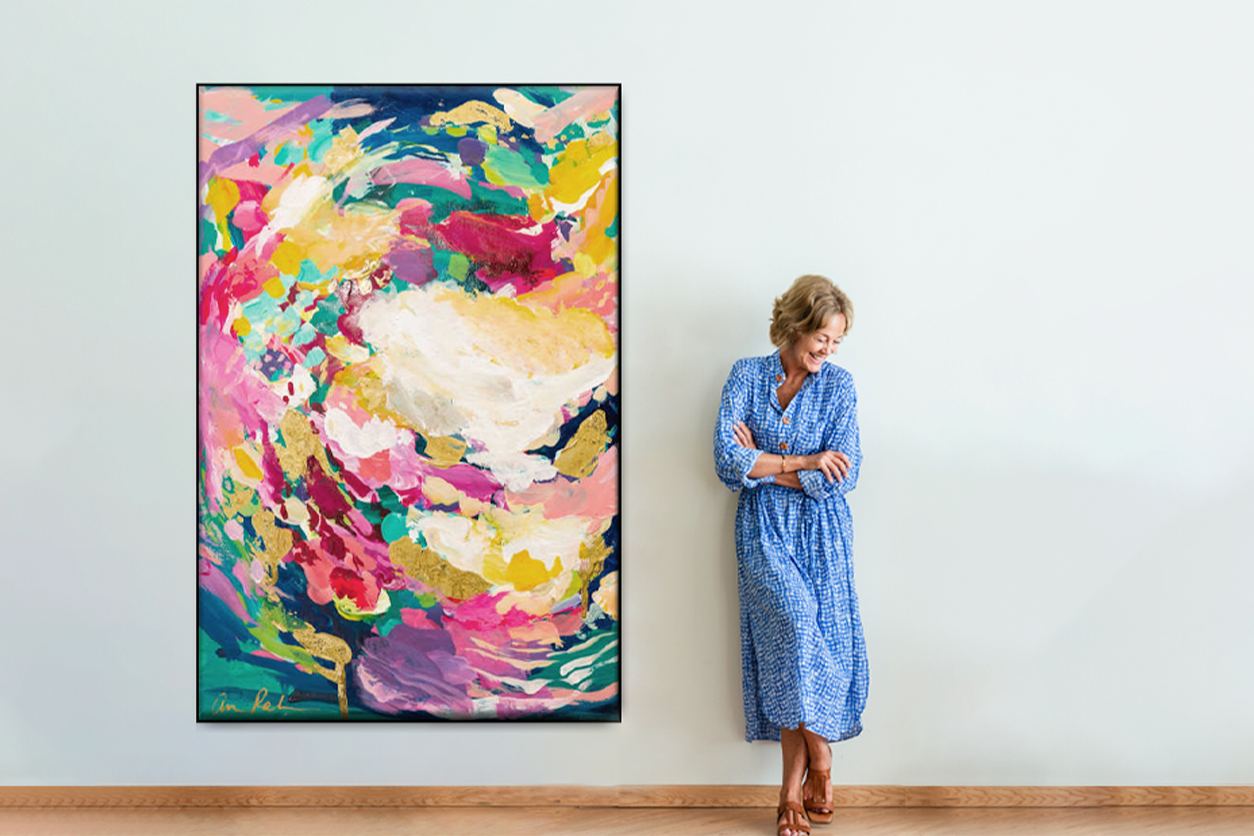

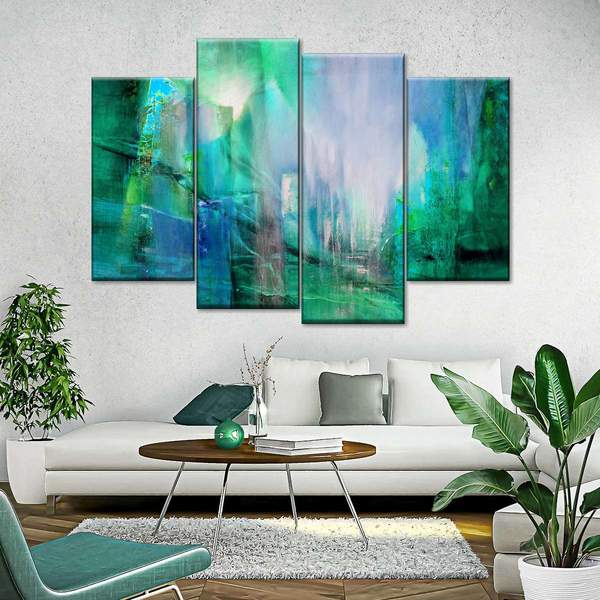
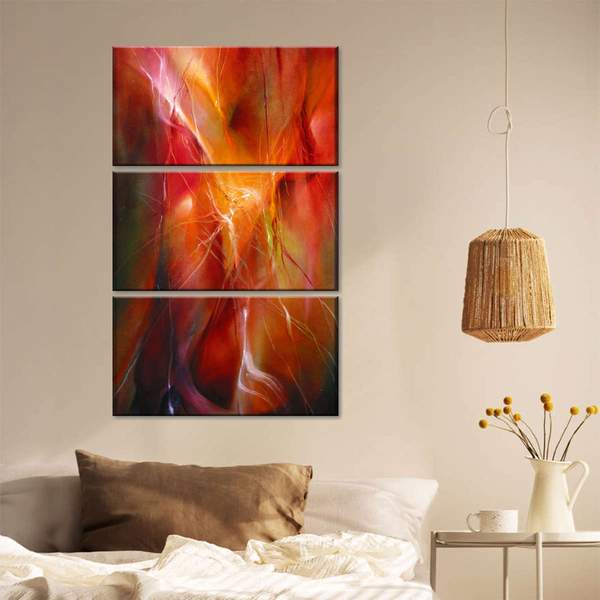
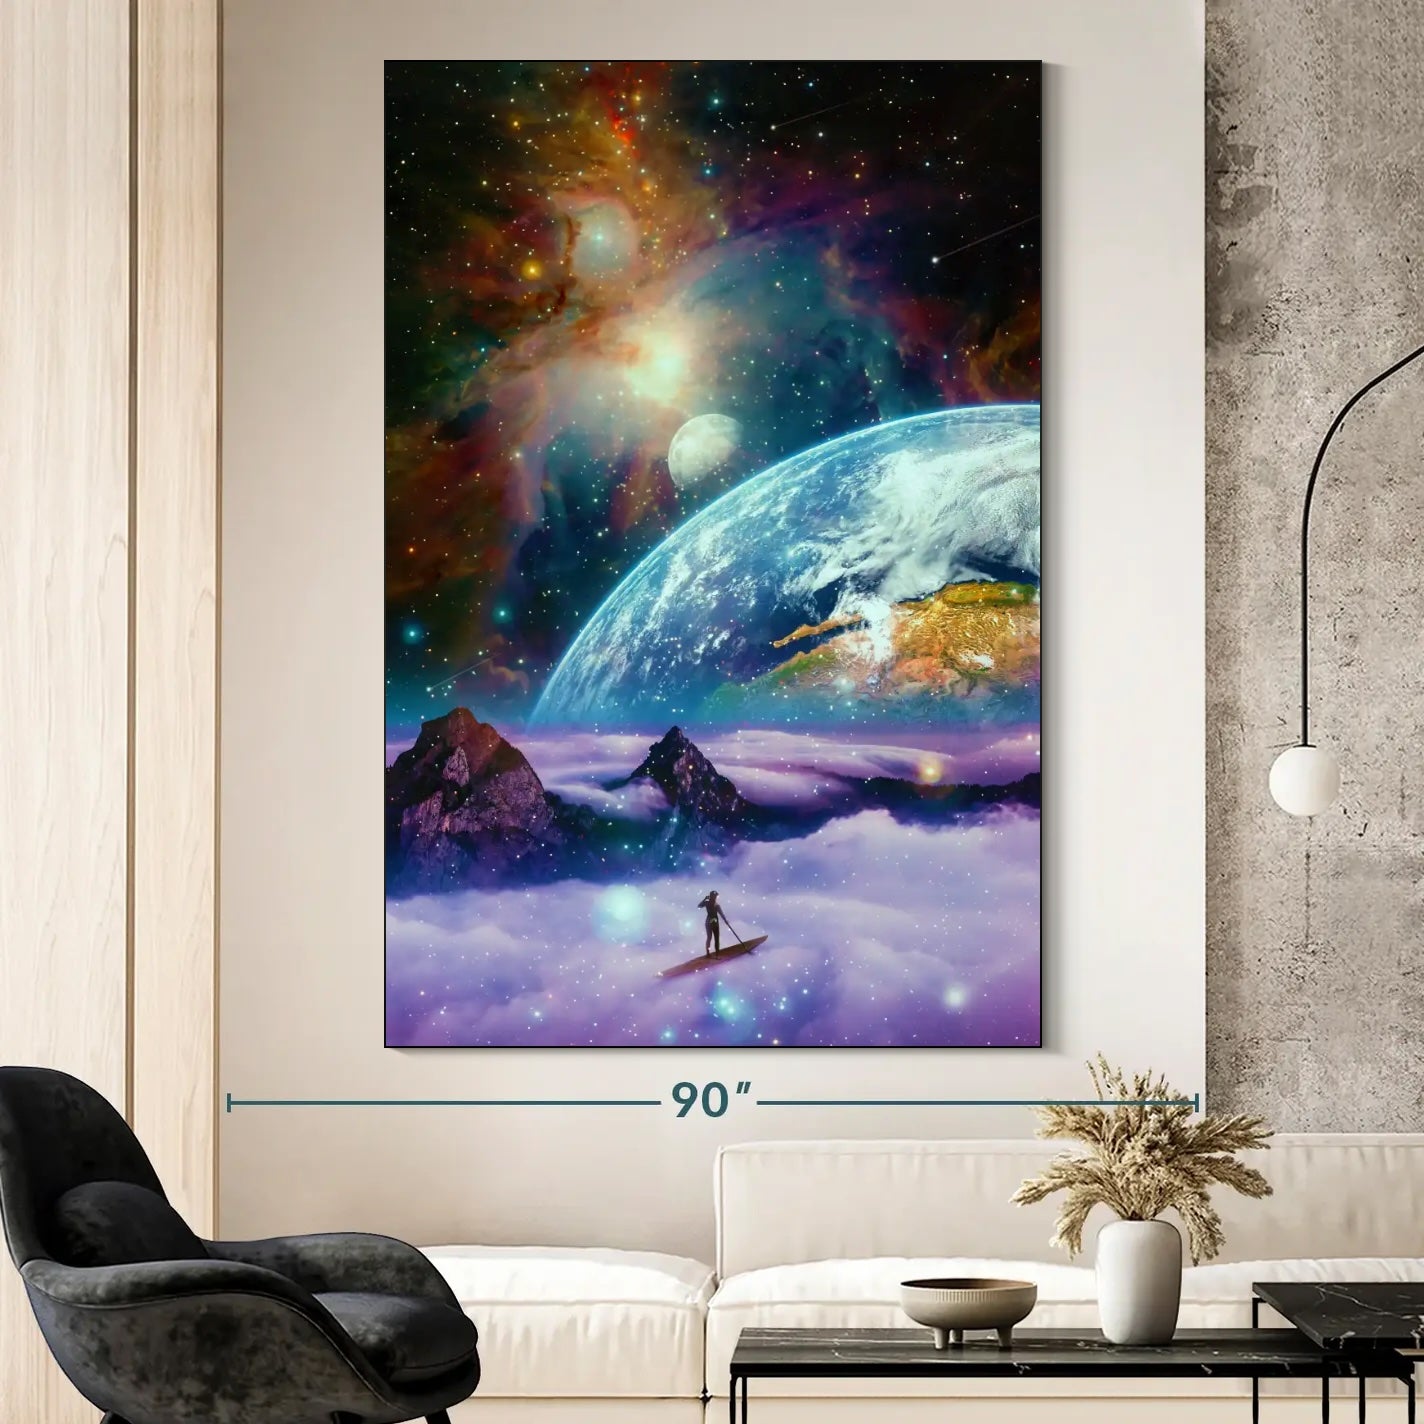
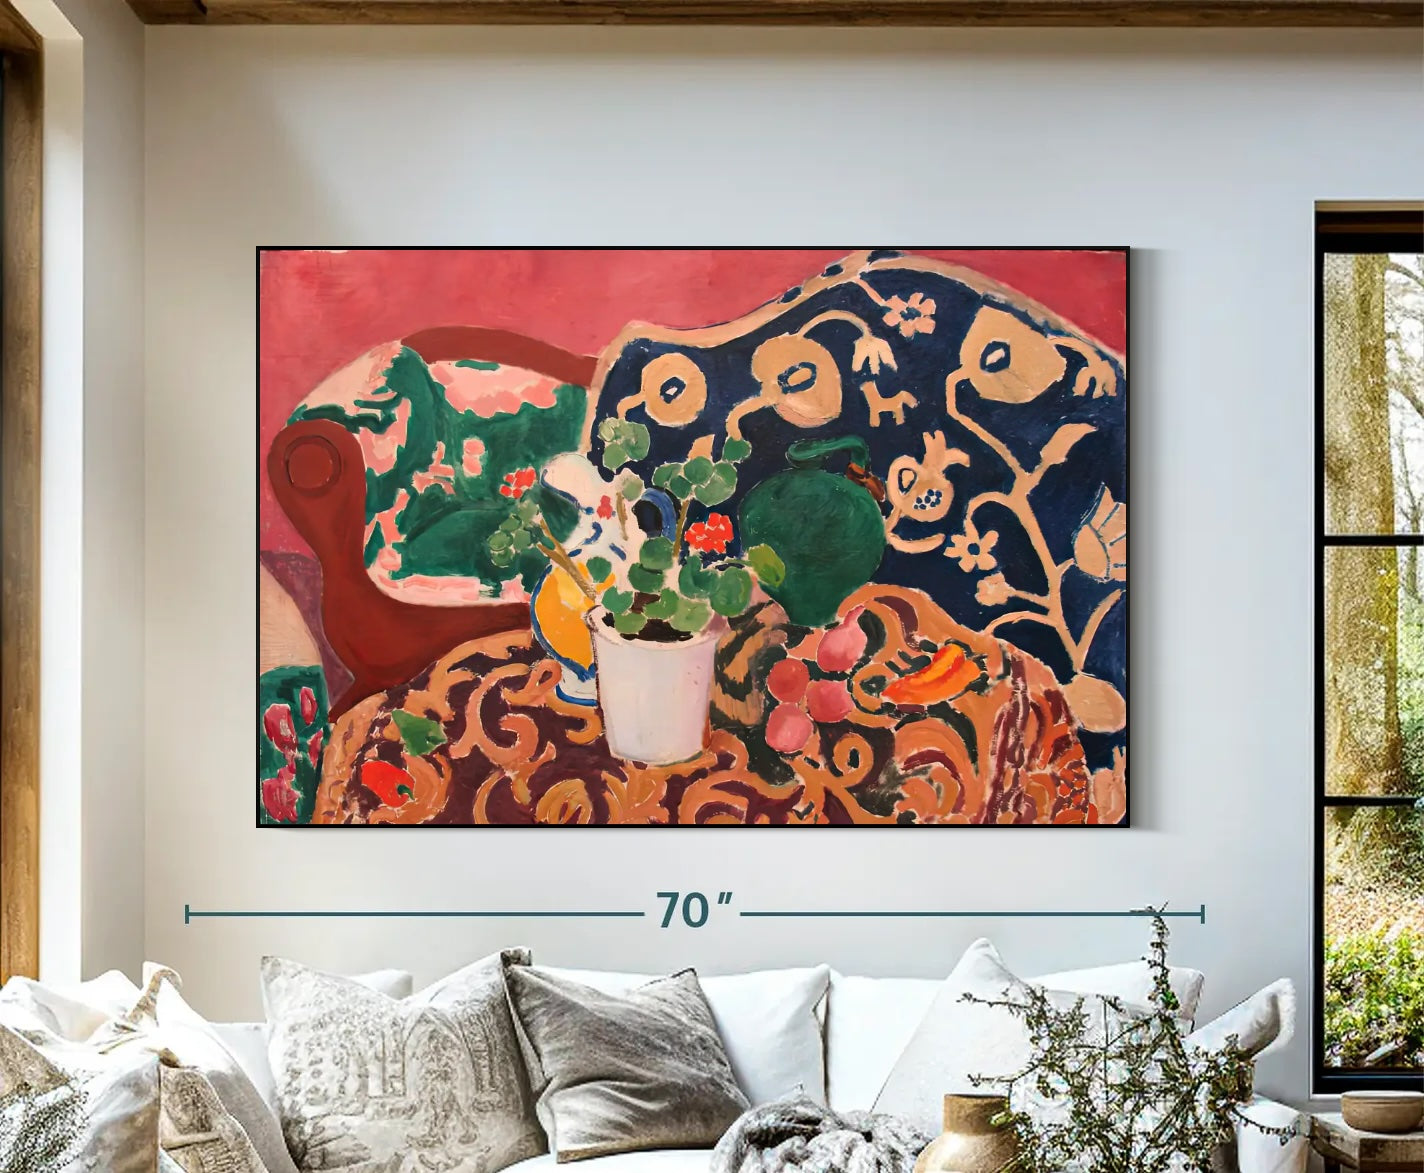
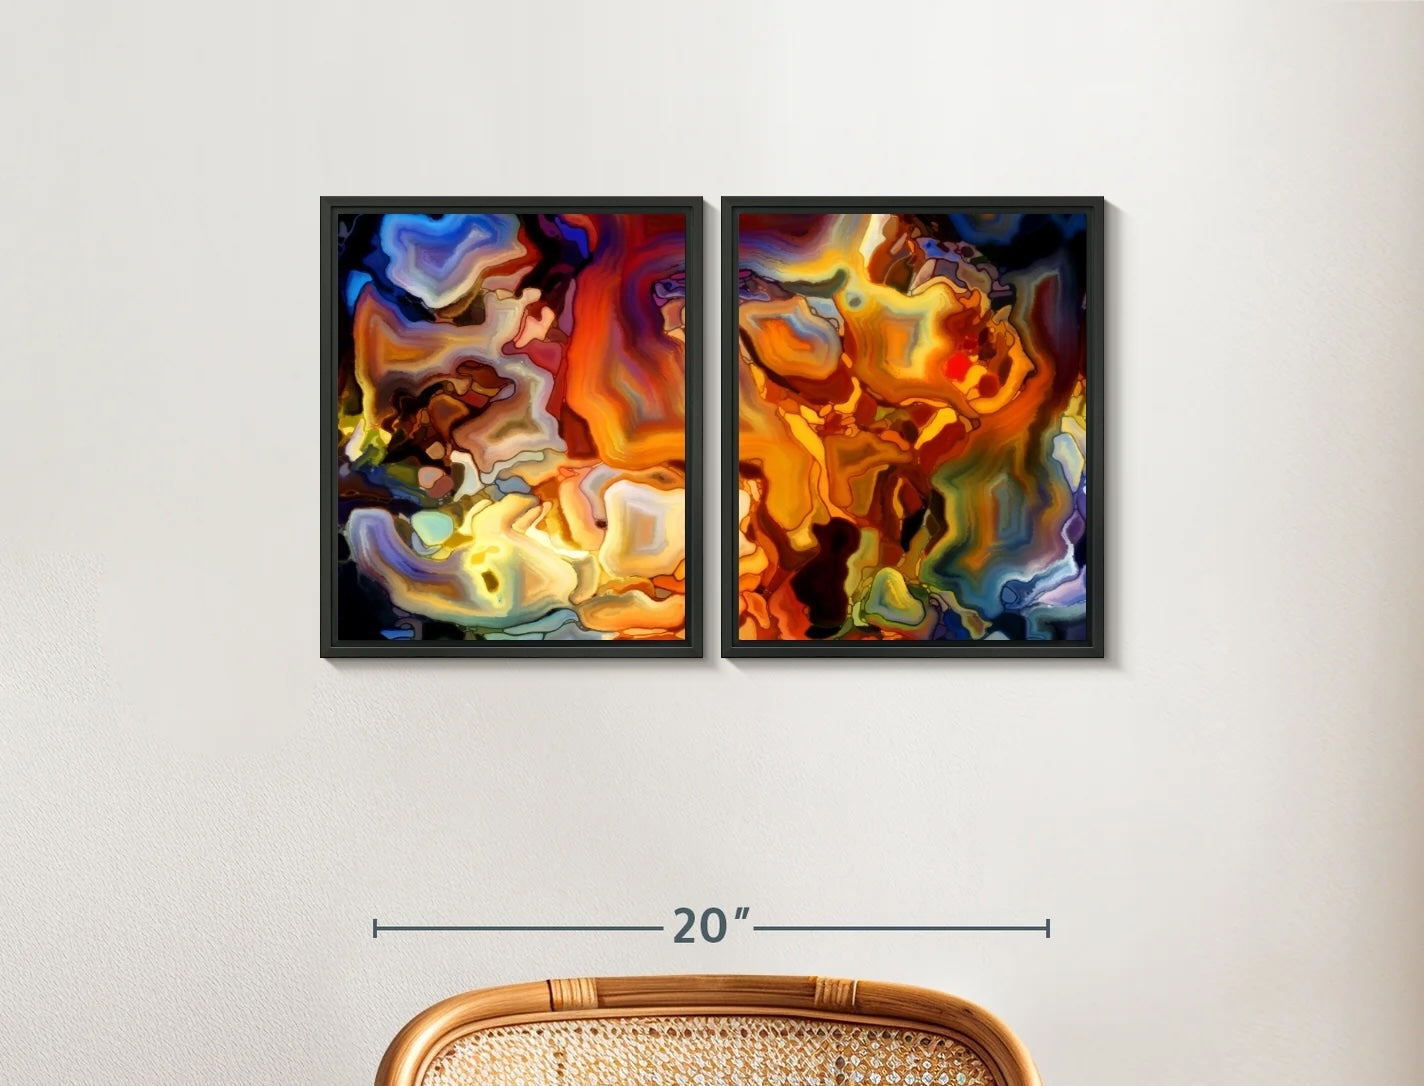
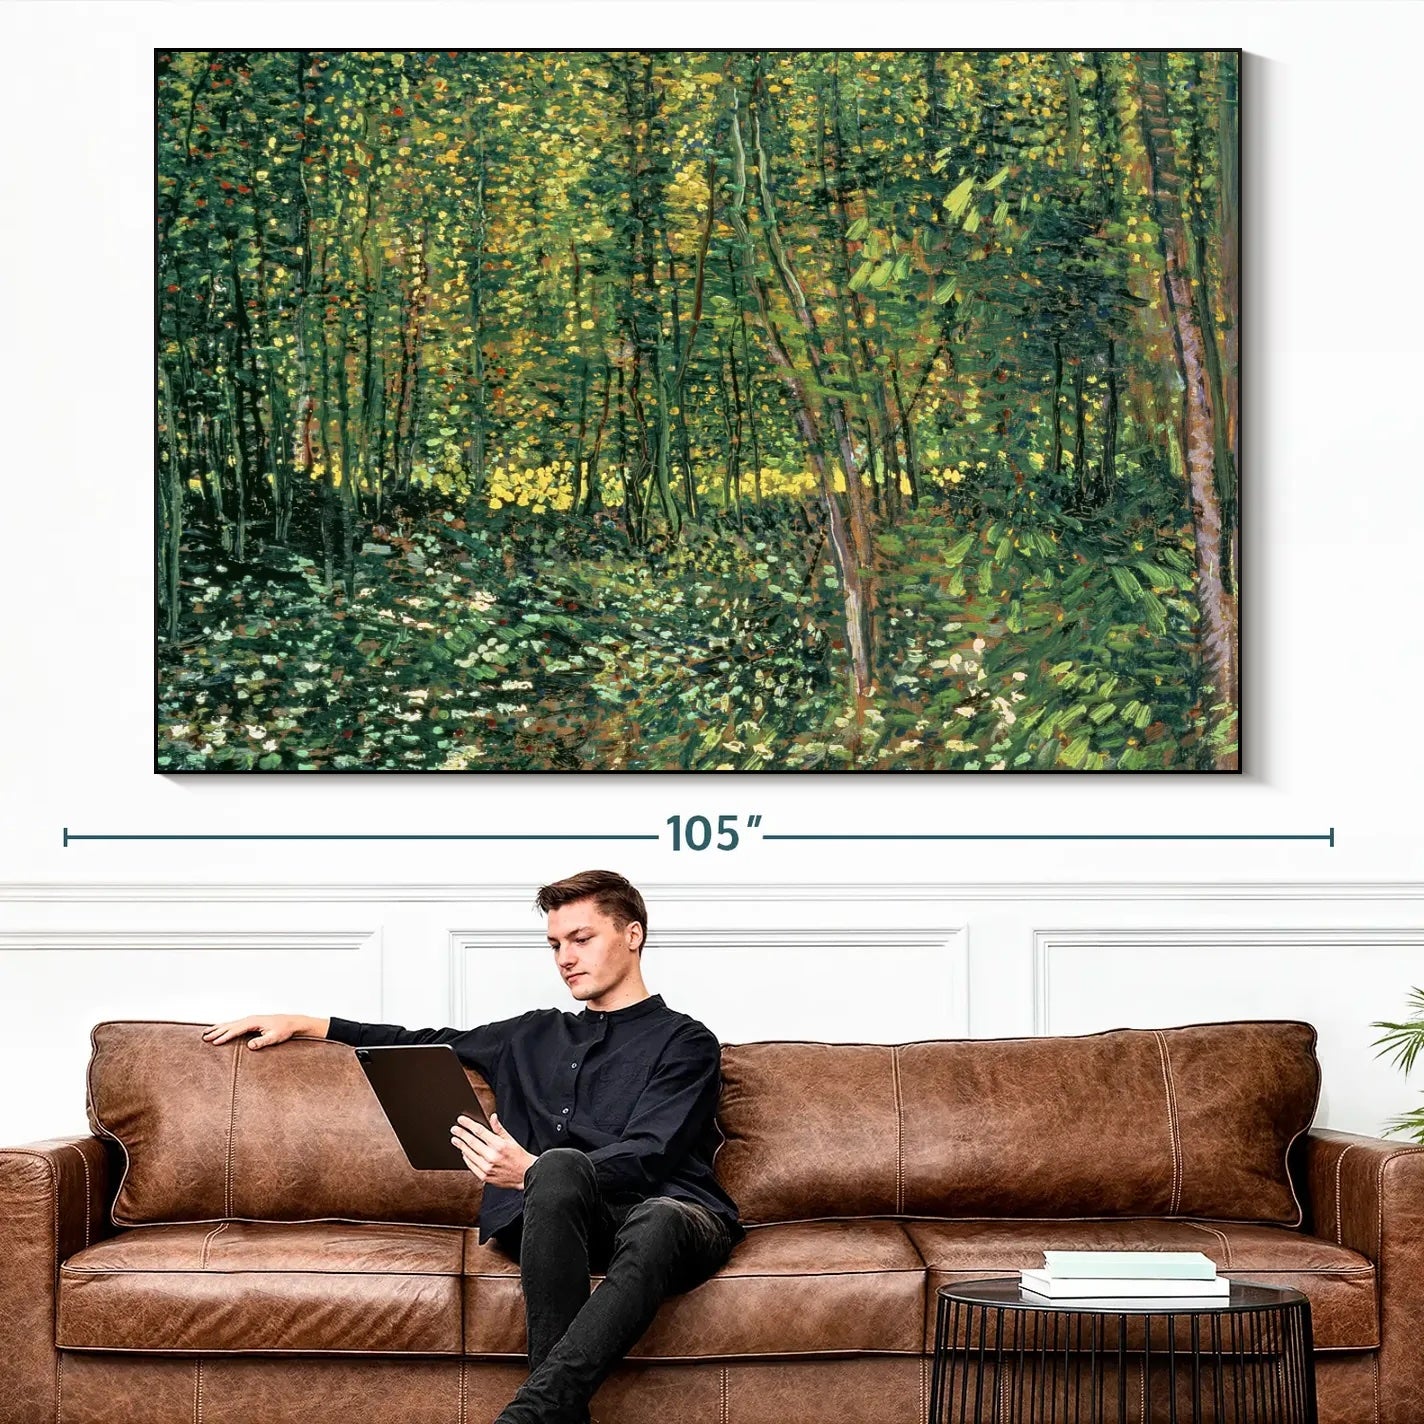
We have exciting news! Our brand-new large wall art is finally here. These extra-large prints are an amazing eye-catching solution for any empty wall.
Whether you’ve recently ordered our large wall art or you’re planning on ordering soon, check out our video on how to assemble your large wall art here:
The guide below will help you with step-by-step instructions to properly assemble your artwork. It’s as easy as following six simple steps. Follow the instructions below to ensure a strong frame and durable installation.
1. Take your corner brackets and insert them into each open frame channel. Slide each frame corner up the channel until they meet. They should come together to create a 90-degree angle. This maneuver will serve as the cornerstone of your project, providing a fundamental framework for the rest of the installation.

2. The next step is to tighten the screws on the corner you just created. Repeat the process on the three remaining corners. Once you’ve finished tightening the screws on all of the adjoined corner pieces, it’s time to move on to the fabric itself.

3. When it comes to installing the image itself, the first step is to make sure the design is facing outward. Then, you have to start with the corners. Grab one corner with the silicon strip oriented downward. You can then gently pinch the corner to prepare it for insertion in the frame channel. Slide it into the channel so that it is secure. Repeat this step on the opposite corner, and then move on to the other two.

4. After successfully installing all the corners of the fabric, the next crucial step involves evenly distributing the fabric edge within the frame. To accomplish this, gently press into the center of each side, working your way around the frame’s perimeter until the entire fabric is secured in the frame.

5. Congratulations! You’re ready to hang. Because the large wall art is heavy, you’ll want to use four mounting brackets and screws. These brackets serve as essential components in ensuring that your artwork is firmly anchored to the wall, preventing any accidental falls or misalignment. Mounting brackets can also provide valuable assistance in achieving a level and balanced display. If you need help measuring the right position on your wall, check out our hanging guide here.

Bringing your large wall art to life is an art form in itself. By following the steps outlined in our guide, you can easily assemble and display your artwork securely and professionally. From the initial attachment of the corner brackets to the actual hanging process, the artwork can be installed quickly and effectively. Whether you’re a seasoned wall art enthusiast or a first-time decorator, the satisfaction of creating an eye-catching and secure presentation is a rewarding experience. The correct assembly ensures longevity and durability, allowing your large wall art to inspire you for years to come.

The best part about our new large wall art? You can replace the image anytime! All you have to do is repeat these simple installation steps. Change your artwork based on the season or upcoming trends.
SHOP MORE LARGE PRINTS >>
For more wall art installation tips and tricks, visit our article all about clever hanging hacks.

RECENT ARTICLES


CATEGORIES

 GET OUR TIPS!
STRAIGHT TO YOUR INBOX