BACK
BACK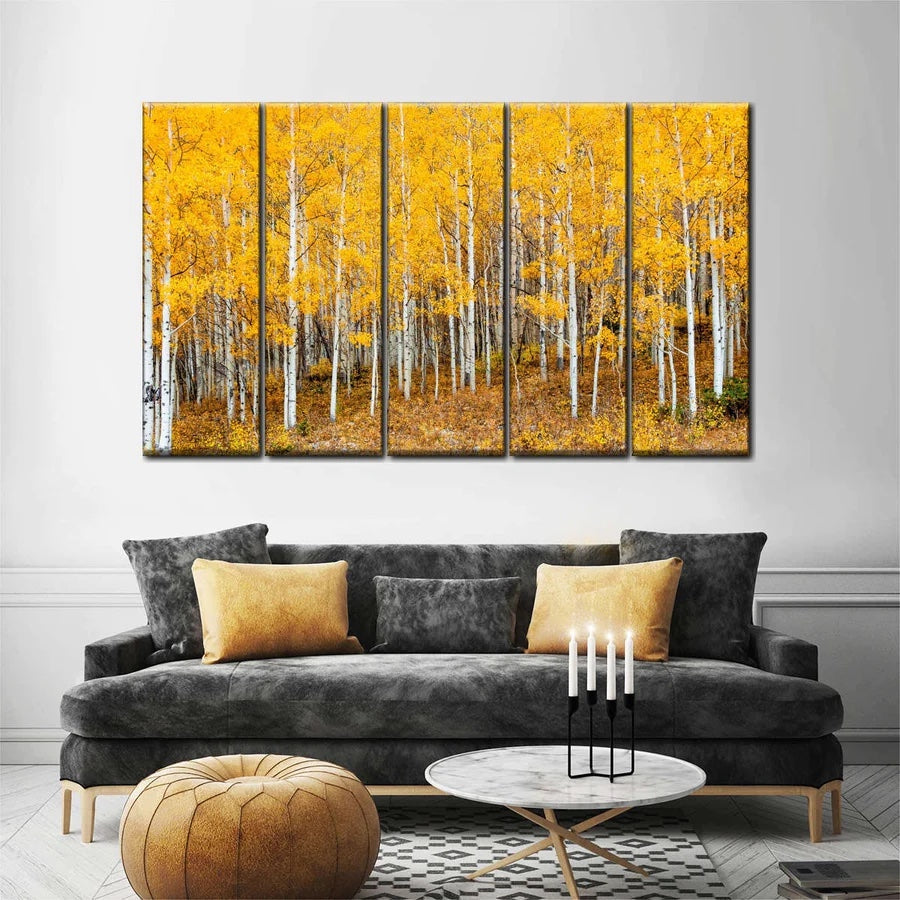

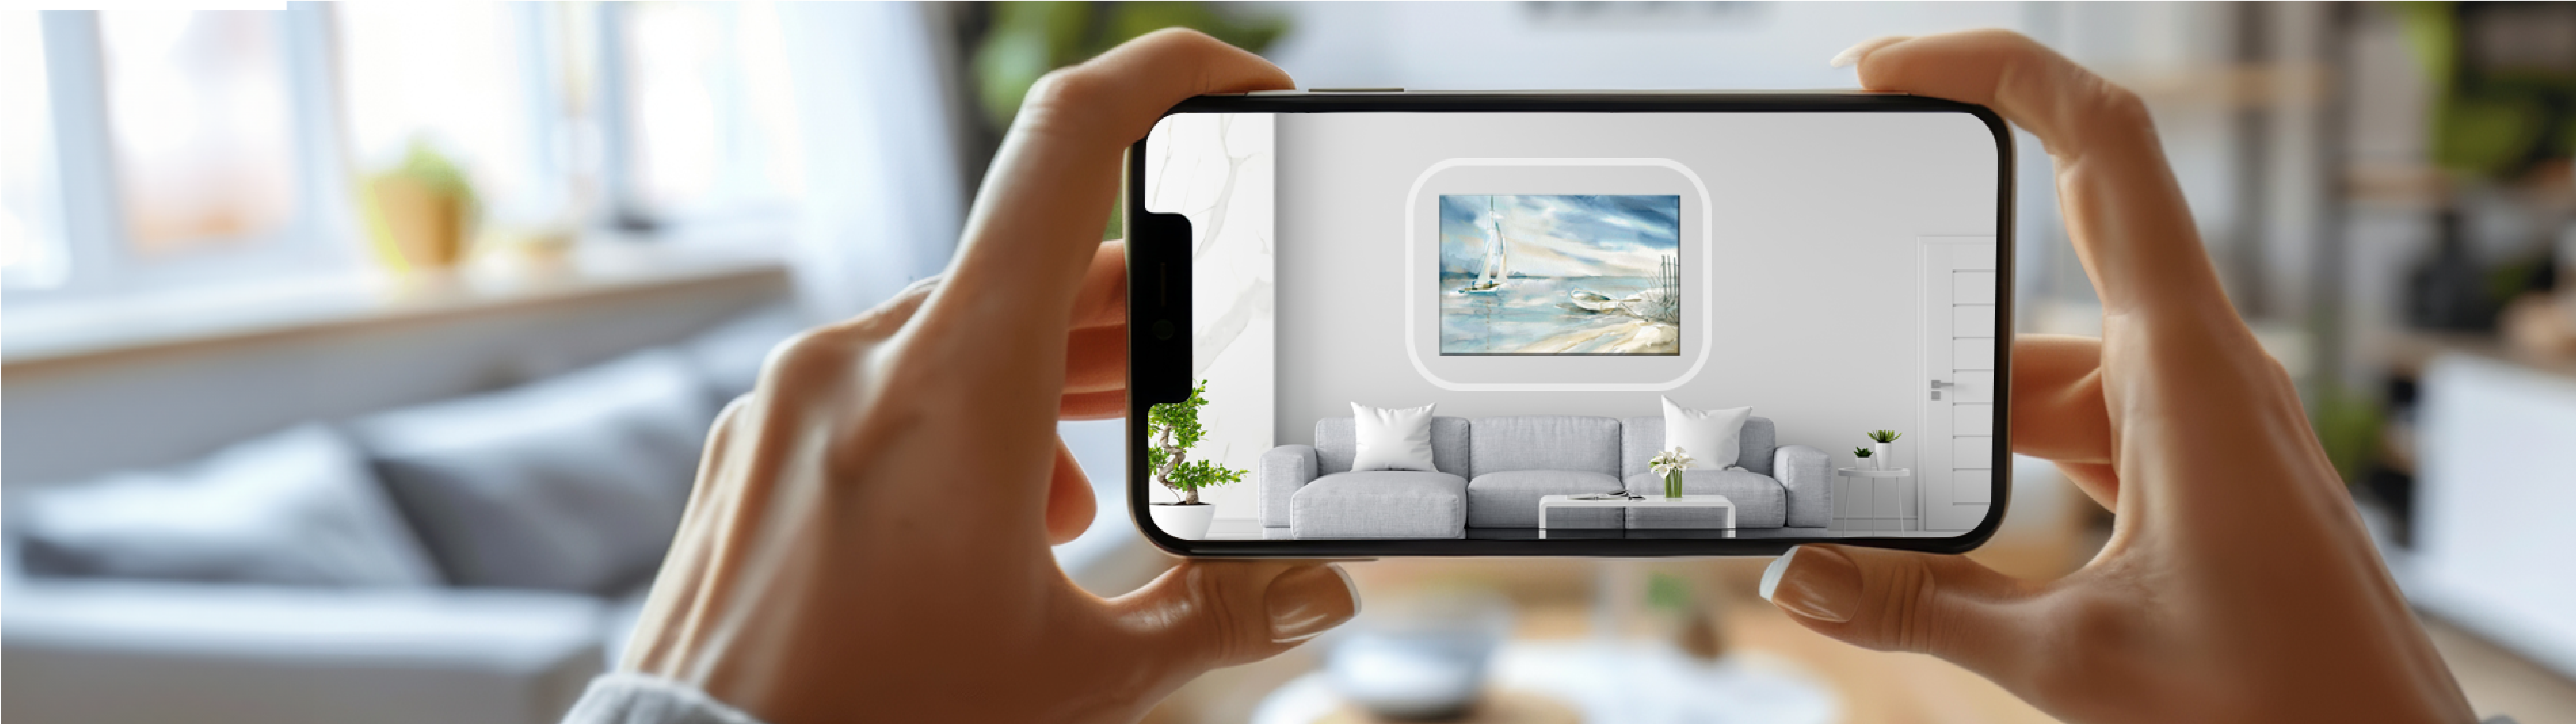
If you’re planning to upgrade your interior with wall art, this guide will help you hang it with ease! Whether you’ve chosen a multi-panel canvas print, or a traditional framed piece of artwork, we’ve covered every style in our installation guide. Hanging wall decor can be a stress-free process if you follow a few simple tips and tricks. Let’s get started!
How to Install Wall Art Panels
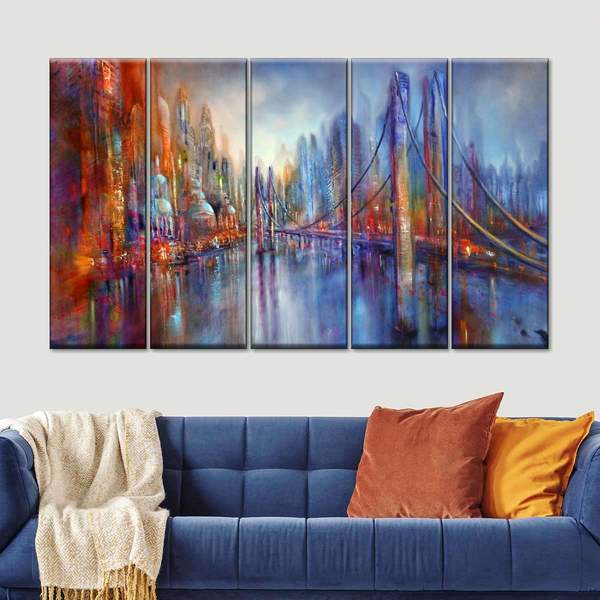
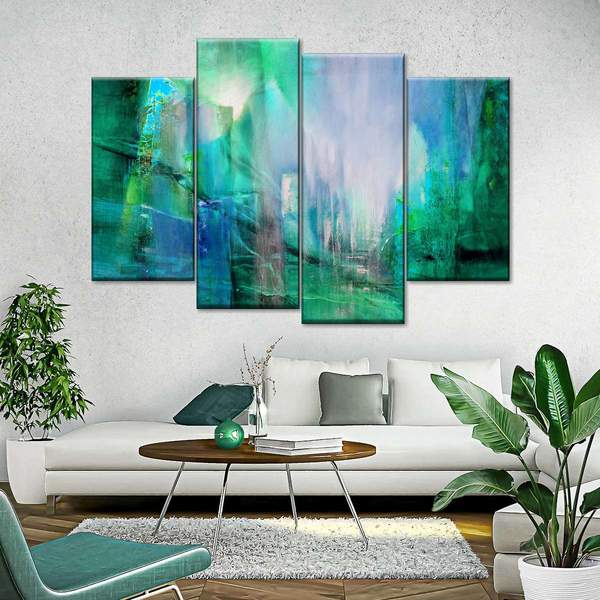
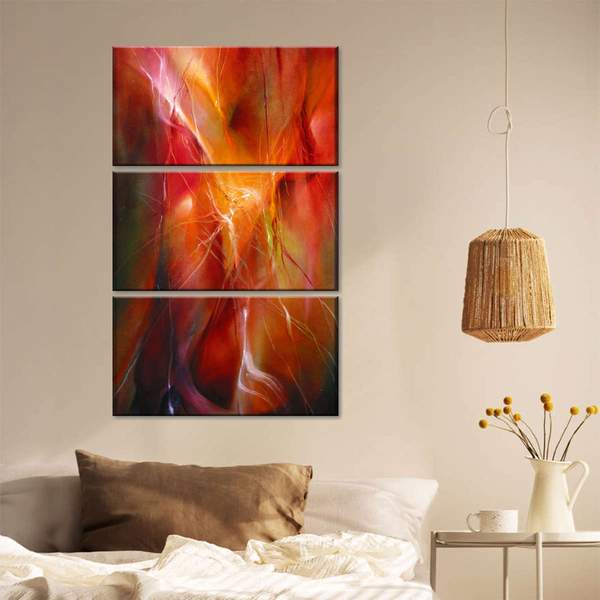
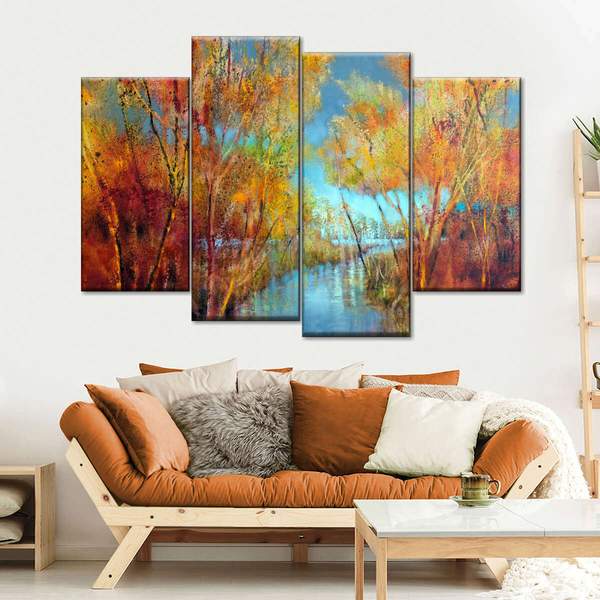
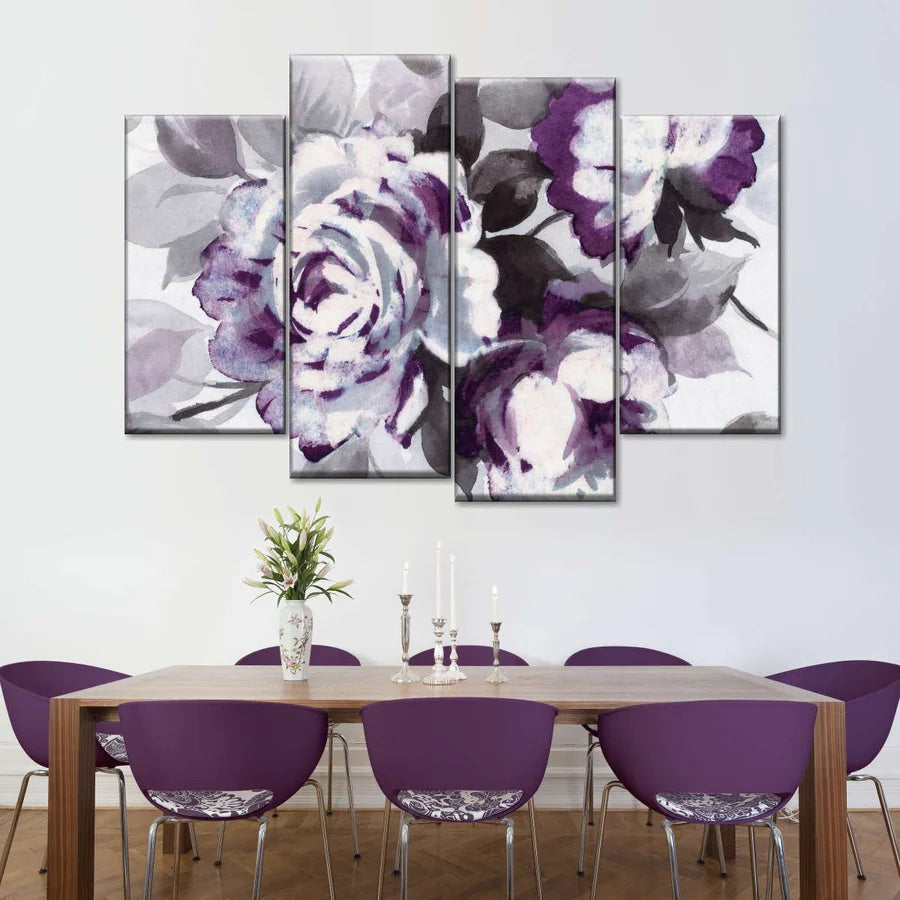
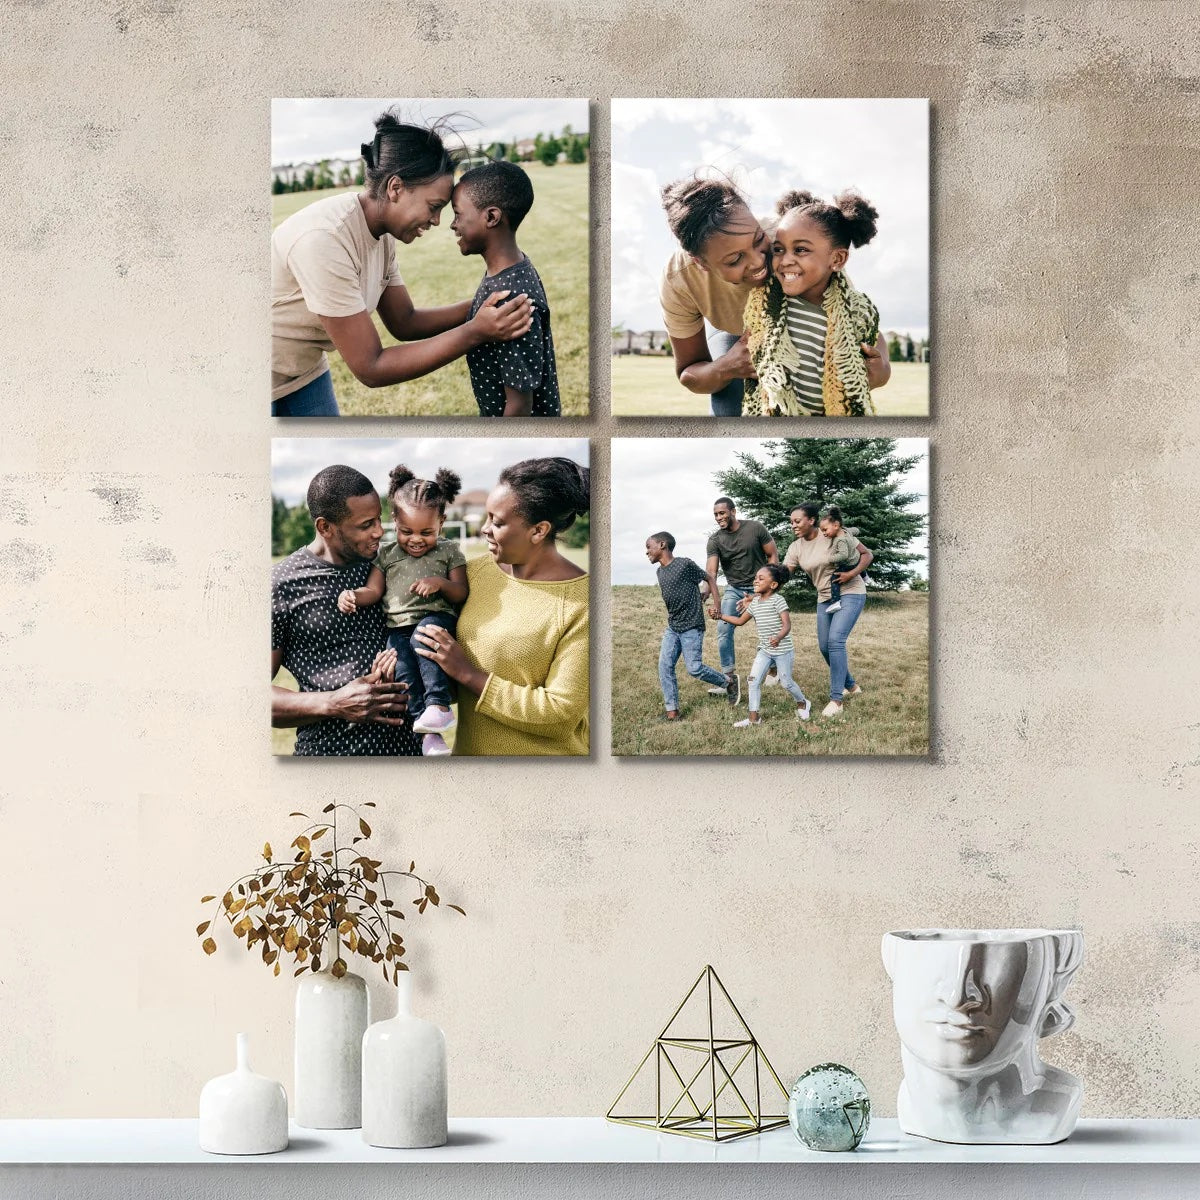
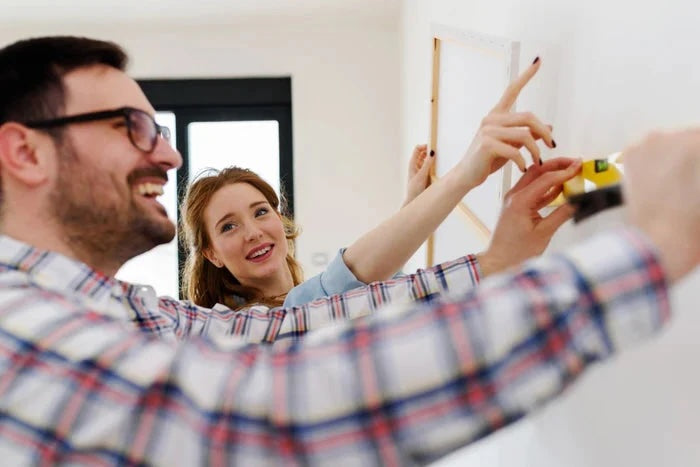
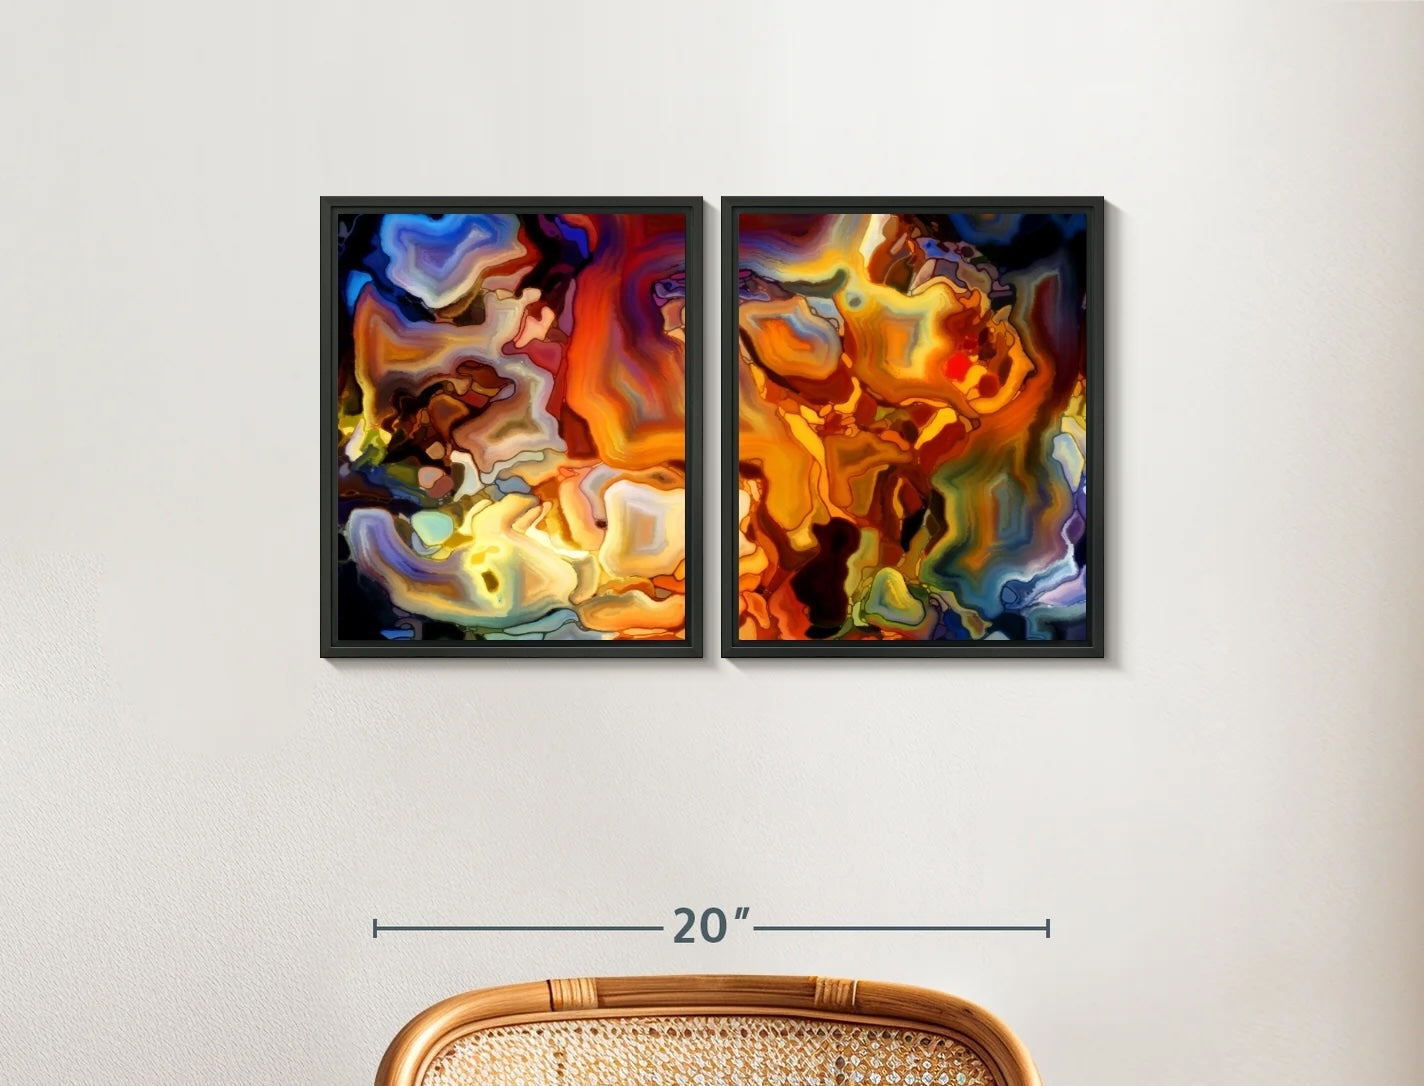
If you’re trying to hang a multi-panel piece of wall art, there are a few things to keep in mind. To achieve a visually appealing and cohesive display, it’s crucial to execute the appropriate distance between the panels. A commonly used guideline is to leave a space of 2-3 inches between each panel. This will provide sufficient visual separation while avoiding an unappealing gap. However, this spacing may vary based on factors such as panel size and layout, as well as the dimensions of the wall on which they will be mounted. For symmetrical displays, it is essential to ensure that the panels are perfectly level and aligned with one another to achieve a polished appearance. Don’t be afraid to take your time, use a level, and delicately mark your walls with a pencil (or toothpaste!) before nailing.
Shop for single and multi-panel canvas art >>
Single Panel Wall Art Installation Tricks
Our canvas prints come with a sawtooth hanger already attached, so you only need a few basic tools to get started. First, you’ll need the following: a hammer, a pencil, a level, and a nail. Once you’ve gathered your tools, the first step is to decide where you want to hang your print. Pick a largely empty wall that needs a splash of visual interest. If you’re hanging a single-panel print, you don’t want it to compete with other decor.
Here are some tips to ensure your wall art is displayed properly:
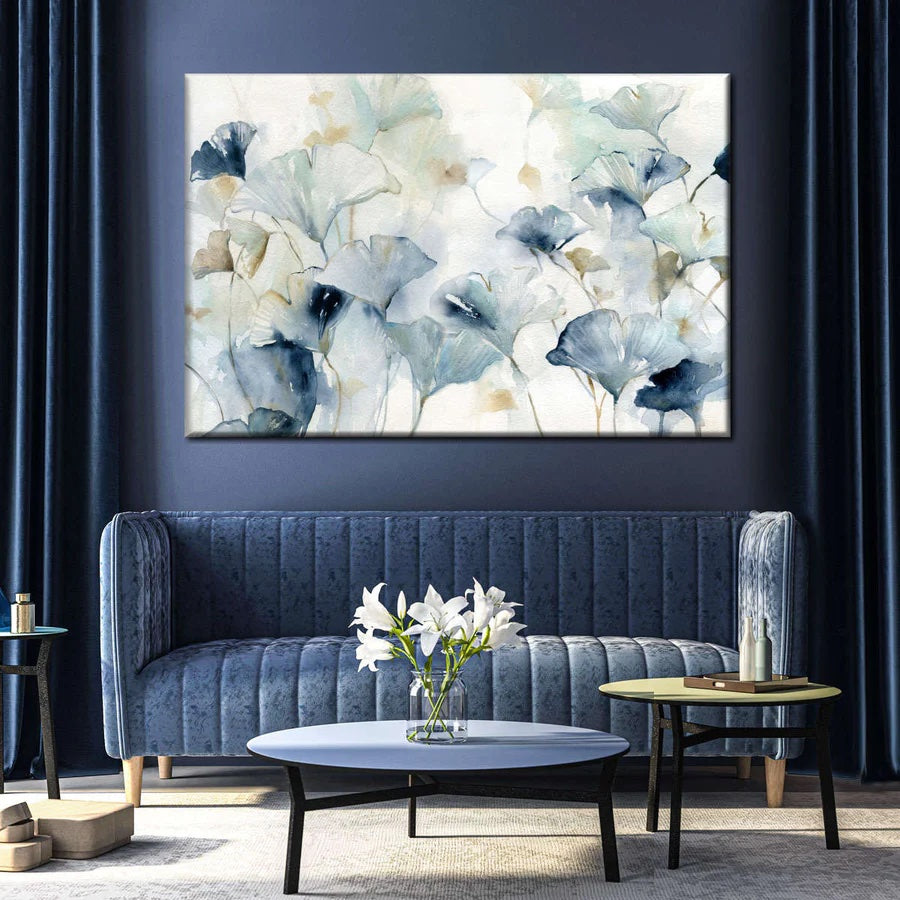
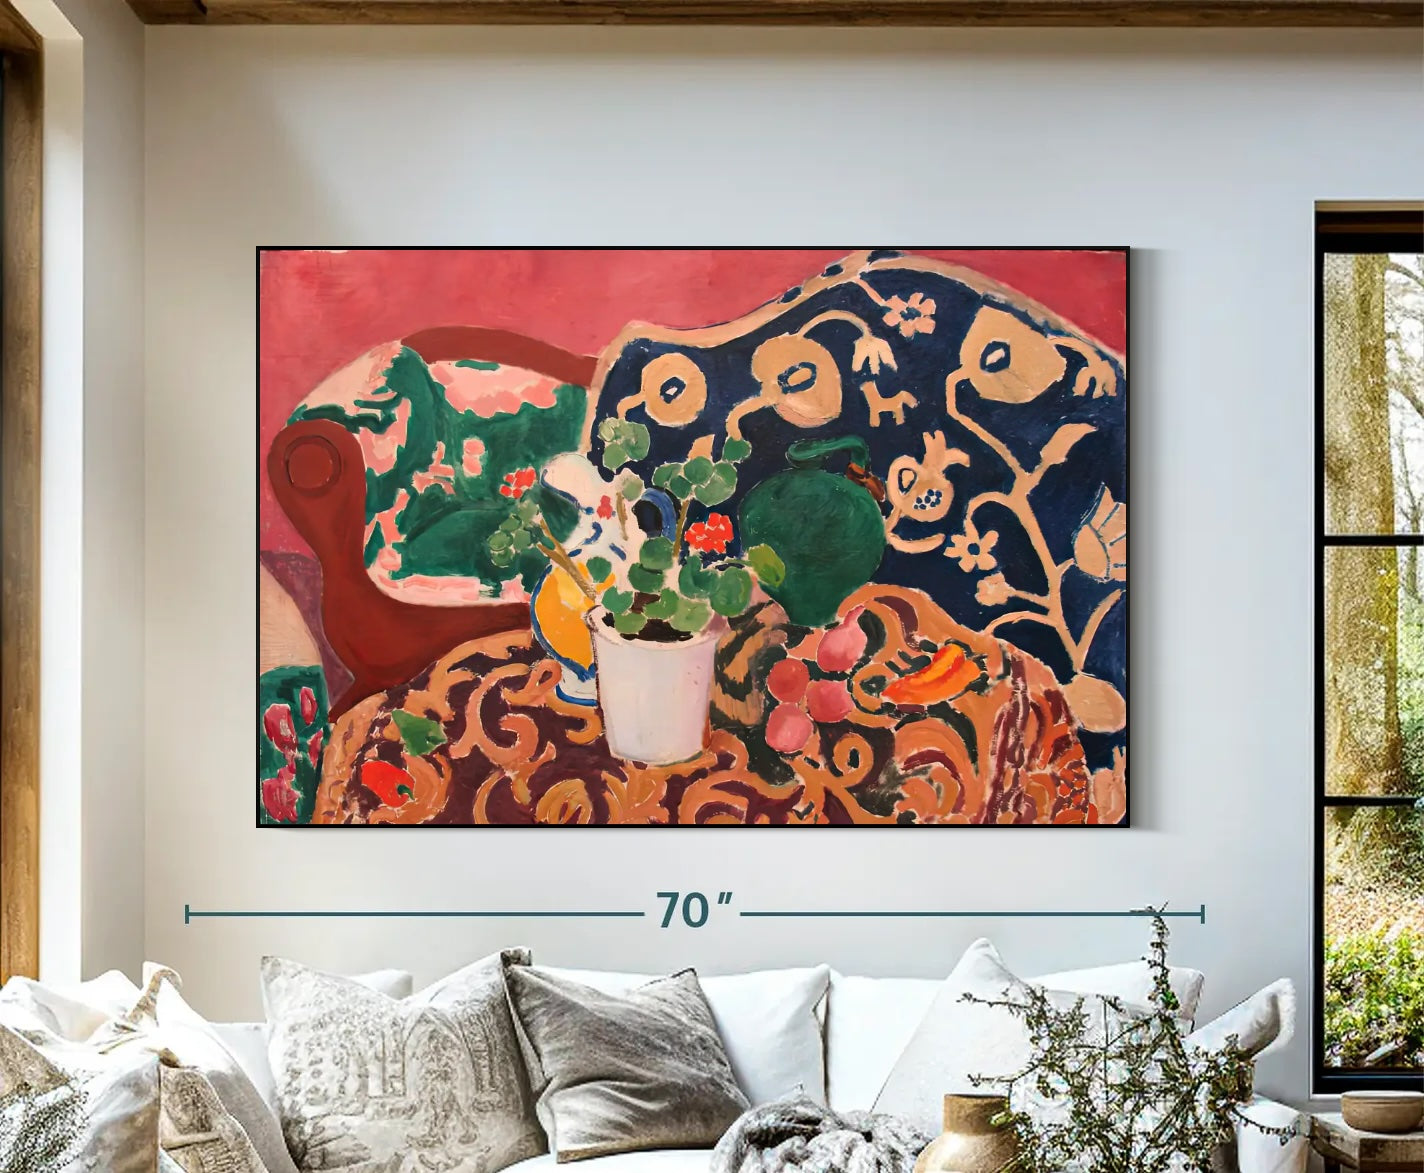
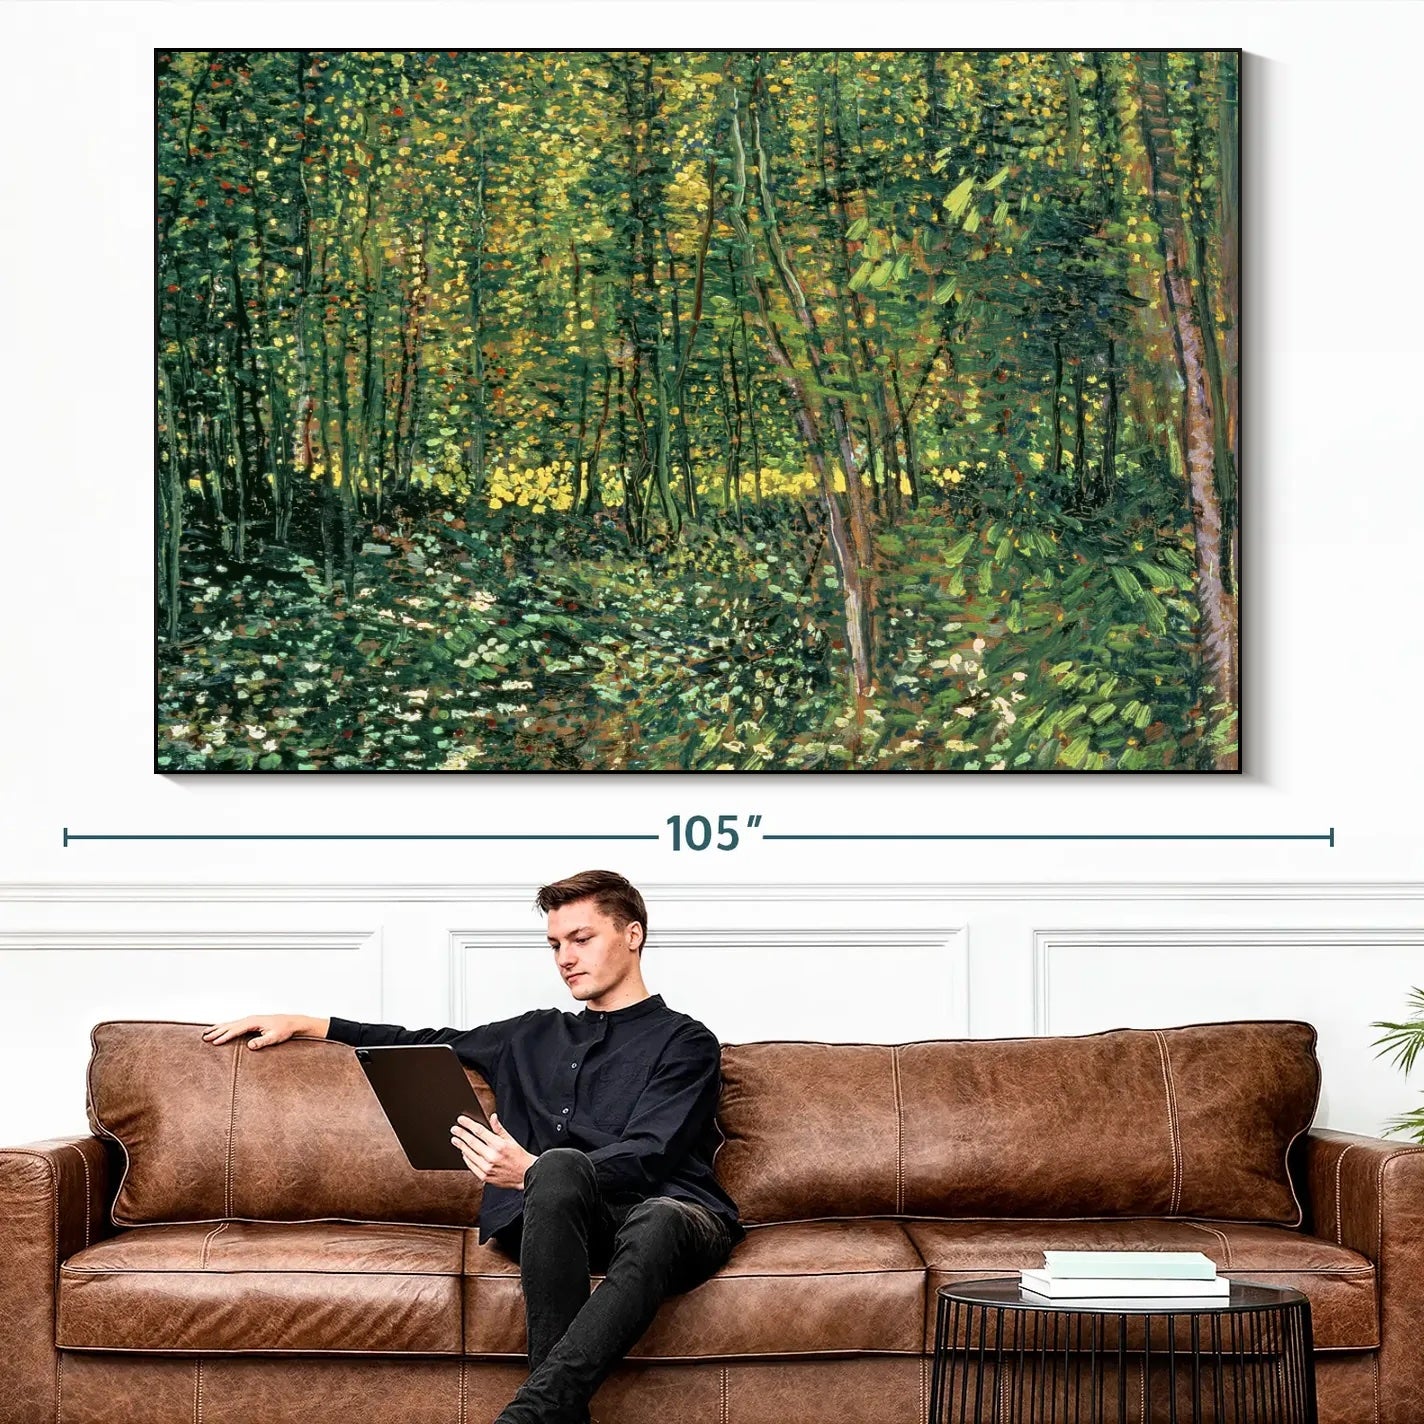
It is essential to consider the height at which your artwork should be hung. One common mistake homeowners make is hanging their art too high. To avoid this, follow the gallery-standard and hang large wall art at eye level. While this may seem lower than you initially thought, it will create a more inviting and comfortable atmosphere. Eye-level artwork has been a longstanding design standard in galleries for a reason, as it allows the artwork to be easily viewed and appreciated.
It is important to leave enough room between the edge of the wall and your canvas print. A minimum of one foot between the wall's end and your artwork's beginning will create balance and ensure your artwork stands out. Failing to consider this distance can result in your artwork looking cramped or squeezed.
Lastly, make sure to hang your artwork flush with the wall. Art that sticks out too far can cheapen the overall look of your space.
Discover our selection of top-trending wall art >>
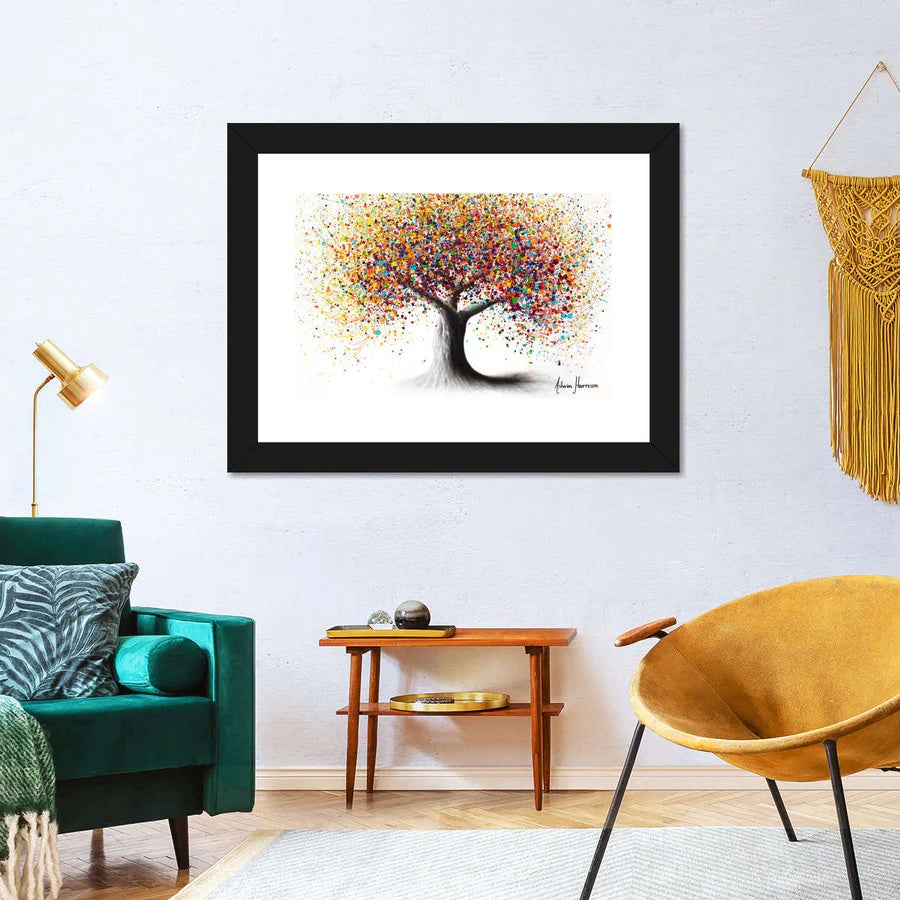
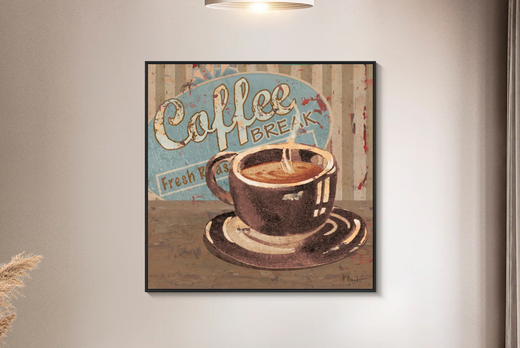
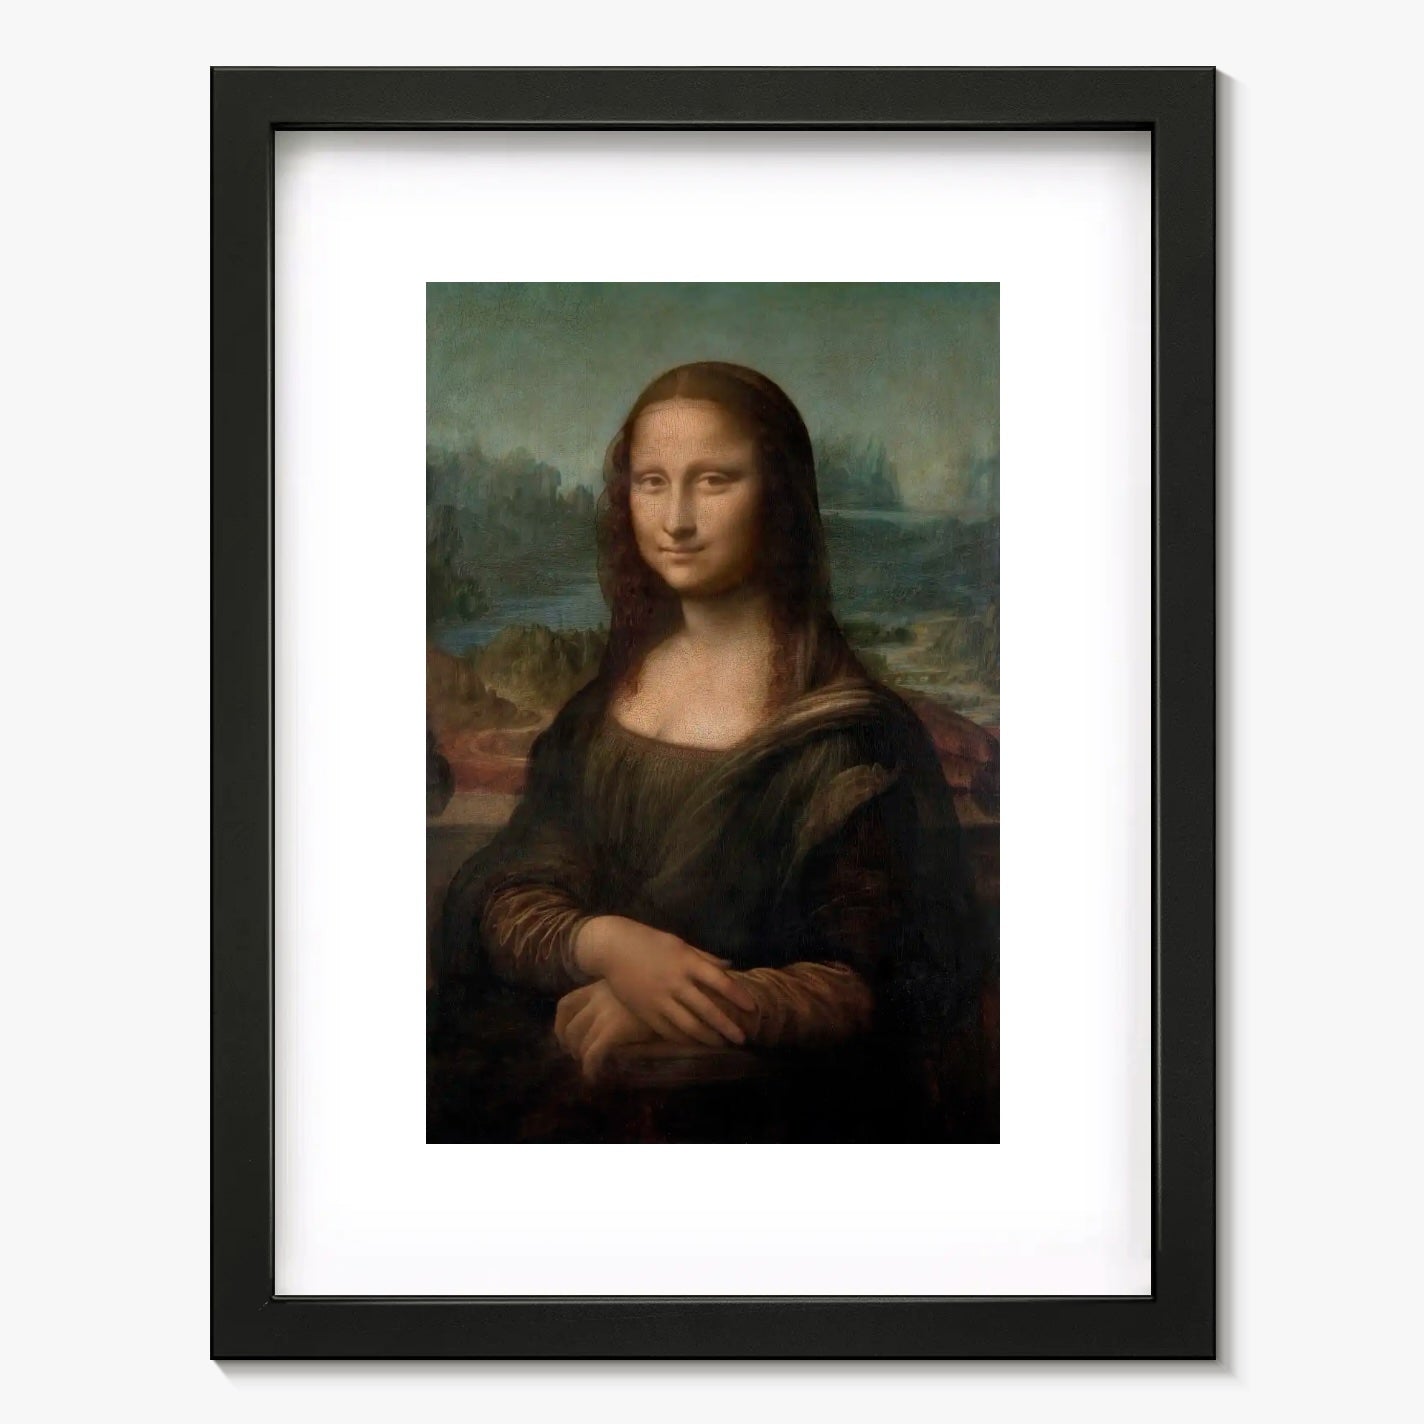
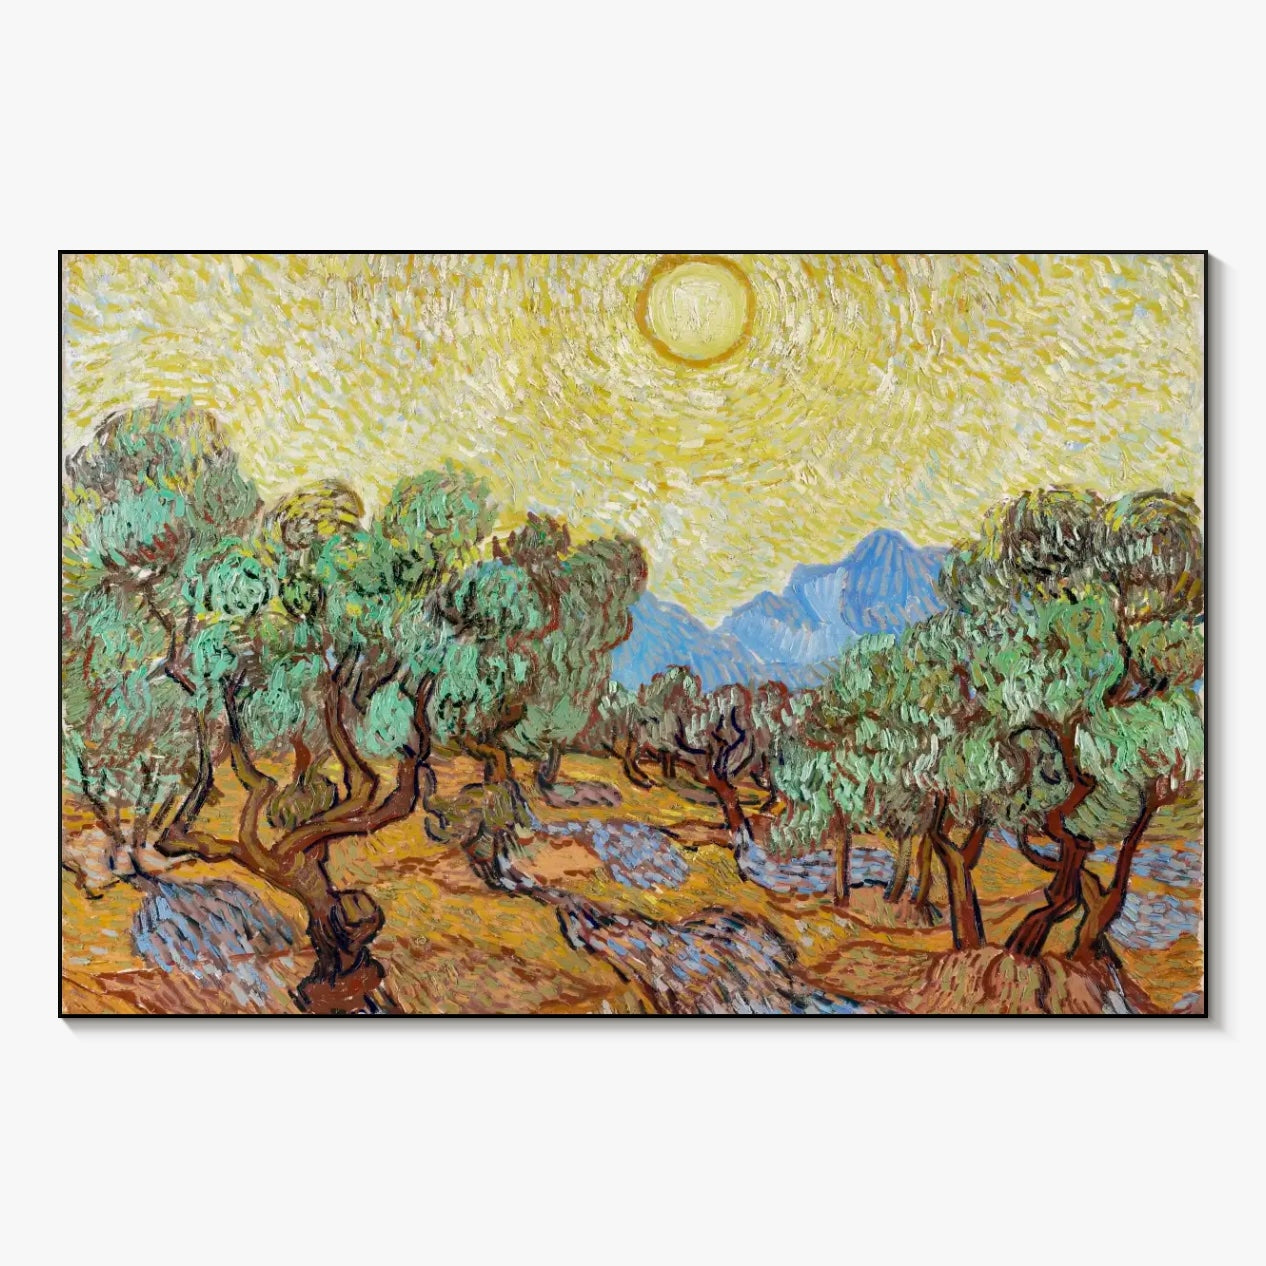
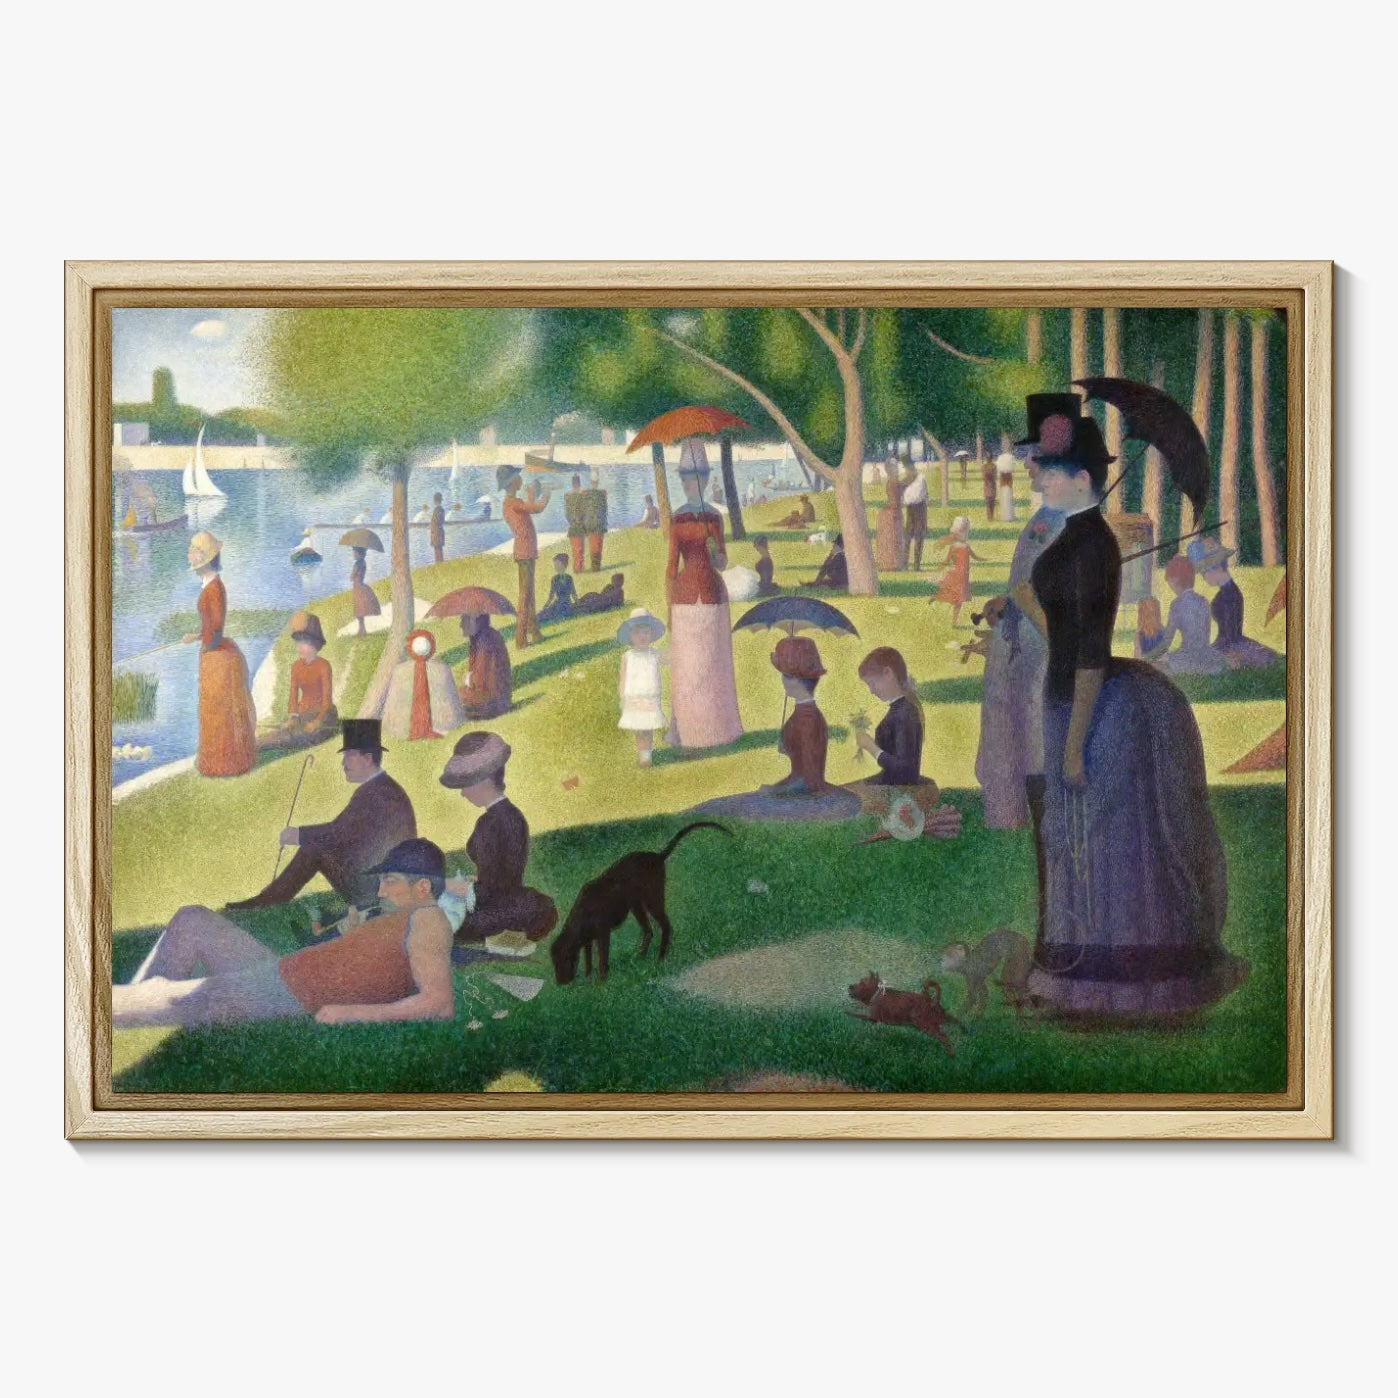
Framed Wall Art Installation Tips
When it comes to decorating your interior, adding a framed canvas print to your wall can be a beautiful and traditional way to showcase your personal style. Hanging a framed print follows the same process as hanging a canvas print. However, it’s even MORE important to hang a framed piece of artwork at eye-level to achieve an art gallery-style appearance.
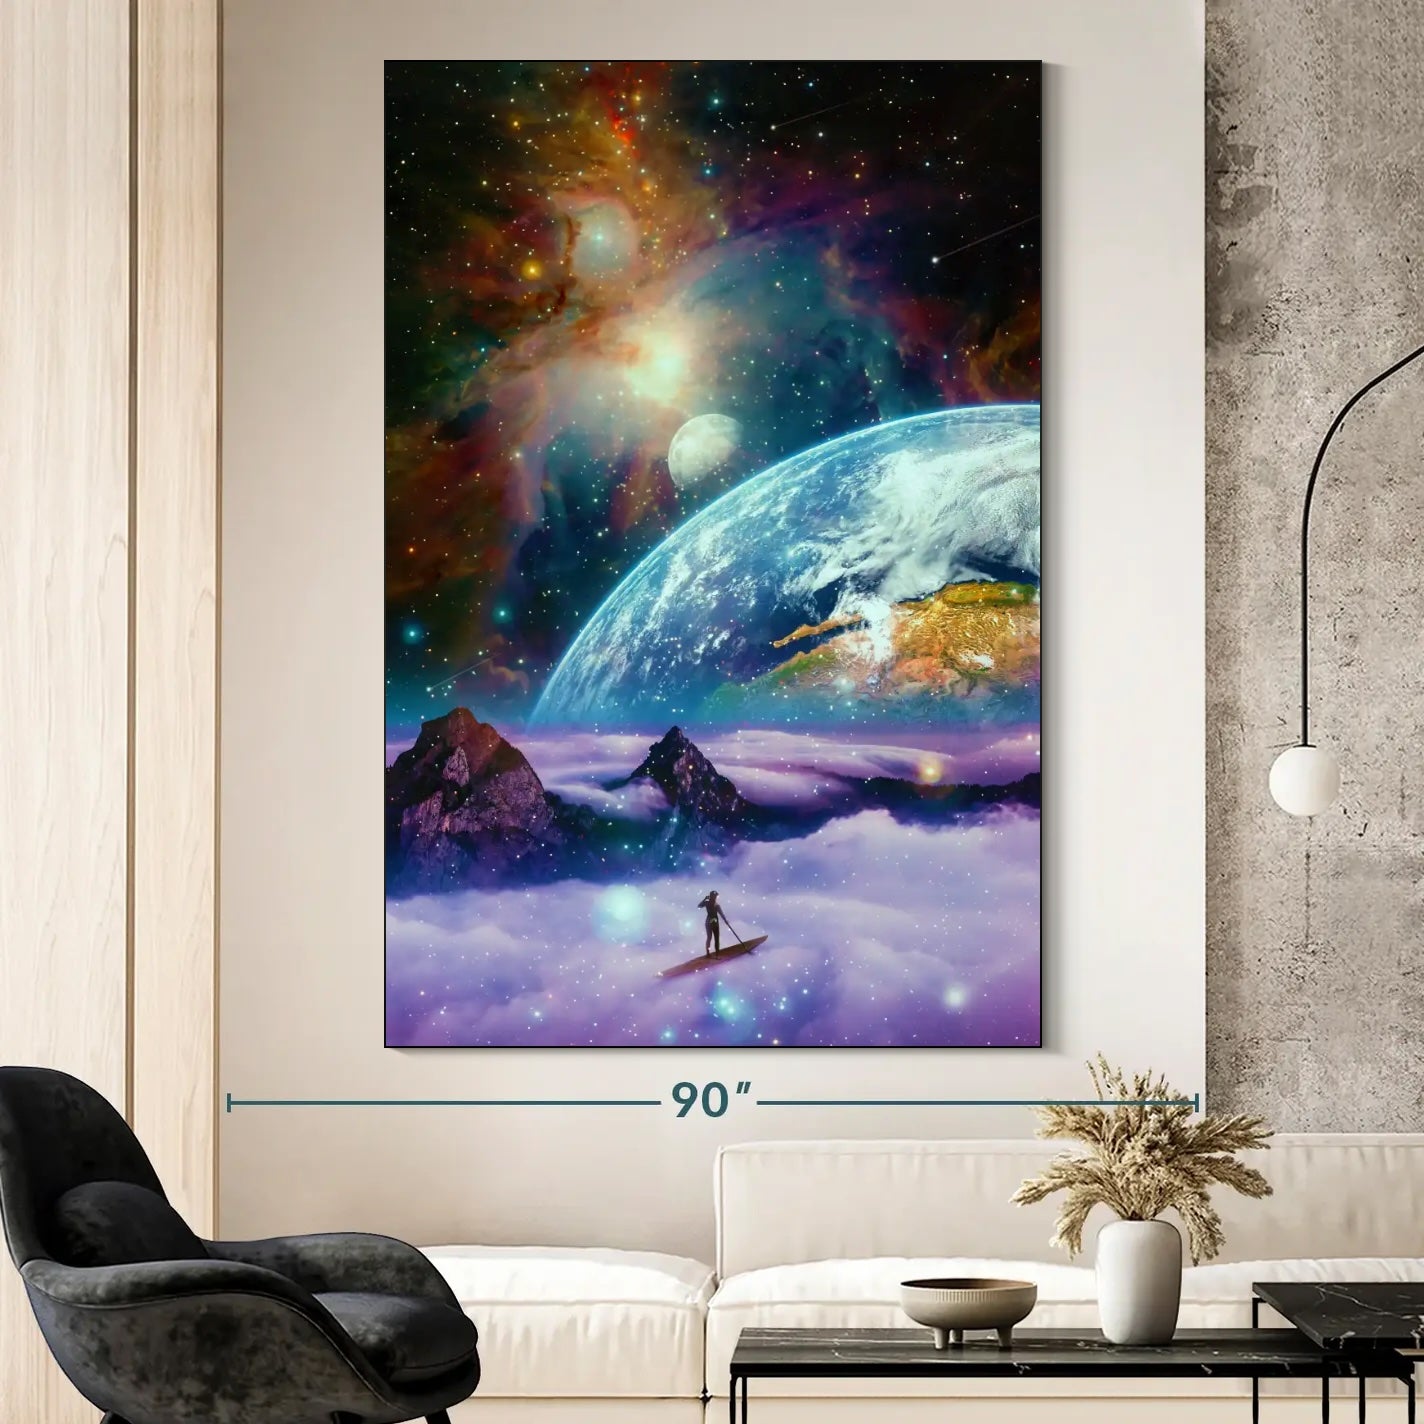
This typically measures around 57-60 inches from the floor. If you’re hanging framed wall art above a piece of furniture like a bed or a sofa, leave no more than 6”-8” in between the top of the furniture and the bottom of the print.
Browse our collection of trendy art ideas >>
How to Install Photo Tiles
Have you heard of foam photo tiles? These customizable foam tiles are great for rentals, or in spaces you don’t want to damage your walls with nail holes. Hanging foam photo tiles is a breeze due to their lightweight design and easy-to-use hanging system. First, decide on the tile arrangement you want, whether it's a simple grid or an eclectic pattern. Then, determine the desired spacing between each tile and mark the spot on the wall where you want them to hang. Our photo tiles come equipped with double-sided tape, so you can easily stick them directly to your wall, making it a great option for renters who don't want to damage their walls with holes. Simply peel off the protective layer and press your tile onto the wall, making sure it's level with the surrounding tiles. Before starting, make sure to measure and mark your desired spot. Create a dynamic display by arranging multiple photo tiles. With this simple process, you'll have a polished display in no time!
Explore our large selection of canvas art >>
Gallery Wall Art Installation Guide
Creating a gallery wall is an exciting and fun project that can seem daunting at first, but with some helpful tips and tricks, it can be a total breeze. One of the first things to consider when creating a gallery wall is selecting a cohesive theme or color palette. Gathering a mix of artwork and decor items, including frames of different sizes and shapes, is important in creating an interesting display. Laying out your pieces on the floor beforehand can help visualize your arrangement and determine the spacing between each piece. When hanging, starting with the center piece and working outward while using a level and measuring tape for precision can ensure a polished finish. Mixing and matching different elements can also add a unique touch to your gallery wall.
If you’re having trouble choosing the perfect pieces for your gallery wall, check out our curated selection of gallery wall sets.
More wall art tips, tricks, and ideas >>

Summary of Wall Art Installation Tips & Tricks
To summarize, here are a few tips to keep in mind when determining how to install wall art panels (and beyond):
-For multi-panel prints, leave 2-3 inches in between each panel
-Always use a level
-Mark your walls lightly with a pencil before nailing
-Lay your pieces on the floor for visualization
-Hang artwork flush with the wall
-Make sure wall art is at eye level (~57-60 inches from the floor)
-Approximately 6-8 inches in between the top of the furniture and the print
For more wall decor inspiration, visit our blog! We post new interior design tips every week. Create your dream home with wall art.

RECENT ARTICLES
CATEGORIES

 GET OUR TIPS!
STRAIGHT TO YOUR INBOX